DIY Beeswax Wraps Tutorial
You asked and we listened! After receiving plenty of interest in a DIY tutorial on how to make your own Beeswax Wraps, we’re very excited to give you this wonderful Blog post. Beeswax Wraps are such an easy at home project and are a great addition to anyone’s eco journey. You can make them by yourself, with a friend, or even get the kids involved!
We love using beeswax wraps in the office and at home, it is a very simple thing that we all can do for food waste and plastic wrap reduction! Use them to cover tins, jars, bowls and plates, wrap around cut fruit and veg or close up an open fresh food packaging. Get creative, keep on reading to find out how you can make your own Beeswax Wraps!
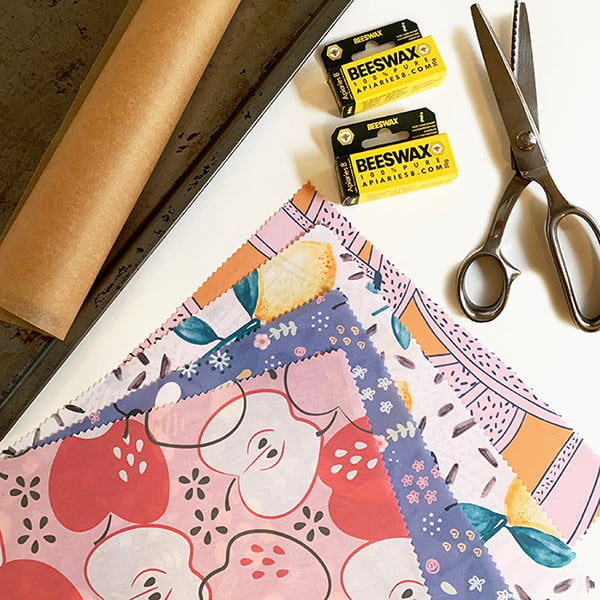
What you need:
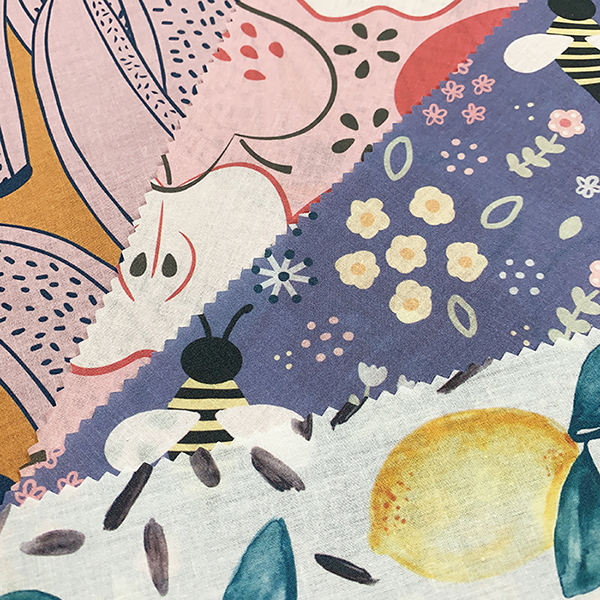
- Custom Printed Cotton Poplin Fabric. Featured designs in this post are: Going Bananas -Tammy De Zilva, Lemonade -Crystal Kruger, Spring Bee – Kathrin Legg, and She’ll be Apples -Katrina Potter.
- Pinking Shears or Regular Scissors
- Large Flat Baking Tray
- Baking Paper or Reusable Baking Sheet
- Beeswax (bar or pellets). We used pellets from Bunnings.
Method:
- The most important step of all…order some wonderful custom printed fabric on our Cotton Poplin, you can design your own or order designer fabrics from our Fabric Shop. Our Cotton Poplin fabric is the best fabric in our range for beeswax wraps! Its a perfect fabric for the job, it has a smooth texture and a perfect weight for an even wax distribution.
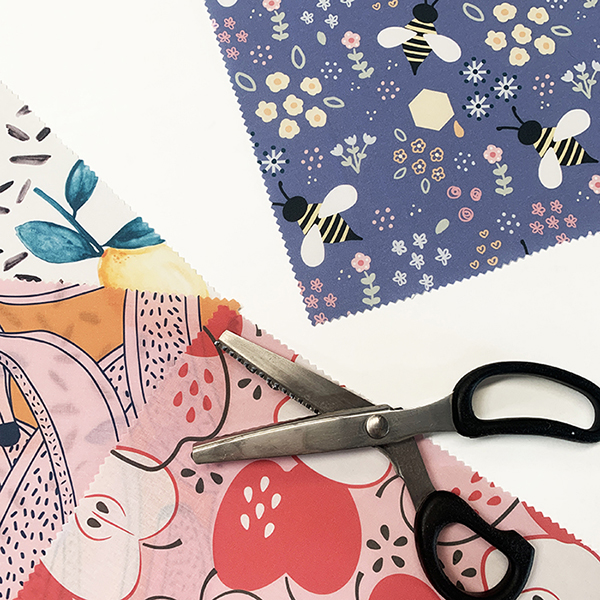
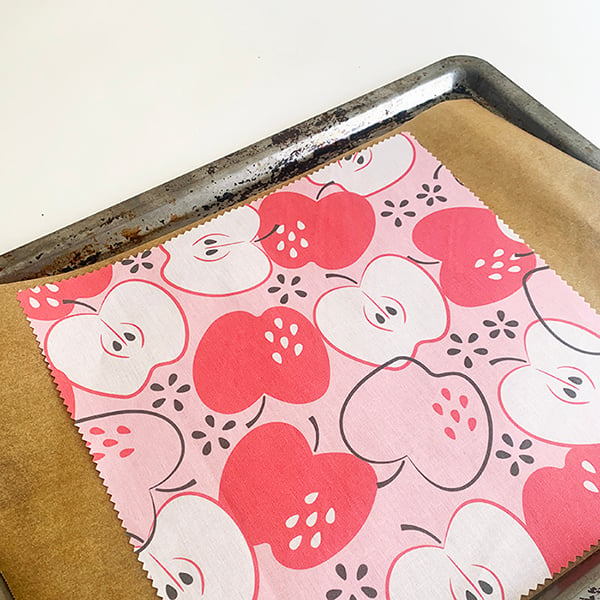
- Using pinking shears, if you want beeswax wraps to look a little bit fancy or just some regular scissors, cut out some squares at your desired size (we’ve gone with 30 x 30cm). You can create beeswax wrap in any size or shape, as long as it will fit into an oven.

- Preheat your oven to a low temperature, 100 degrees works best as we don’t want the fabric to burn.
- On a large, flat baking tray, an old cookie tray is great for this, place a sheet of baking paper (or a reusable baking sheet). Then place your cut fabric on top.
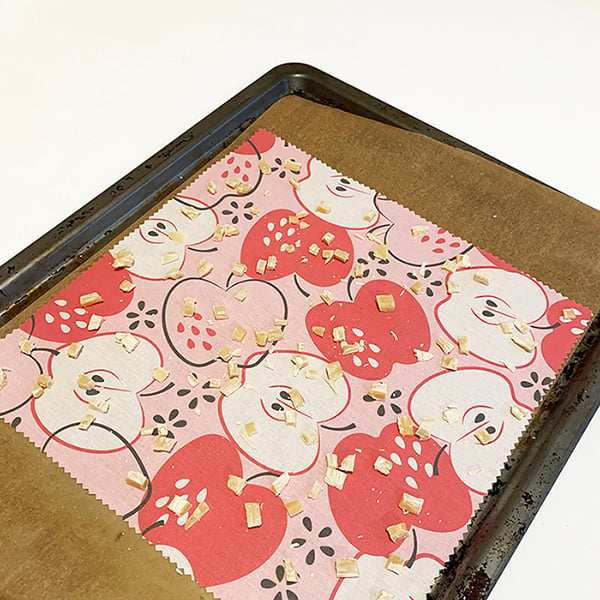
- Sprinkle a generous handful of beeswax across your piece of fabric evenly. Keep in mind that once the wax melts, it will double in diameter. We’ve used a bar of beeswax which we’ve cut up for ours but you can use whatever beeswax you can find, whether it be a bar or pellets. If using a bar, you can grate it or cut it into little pieces like we have (be careful when cutting at the wax is quite hard).
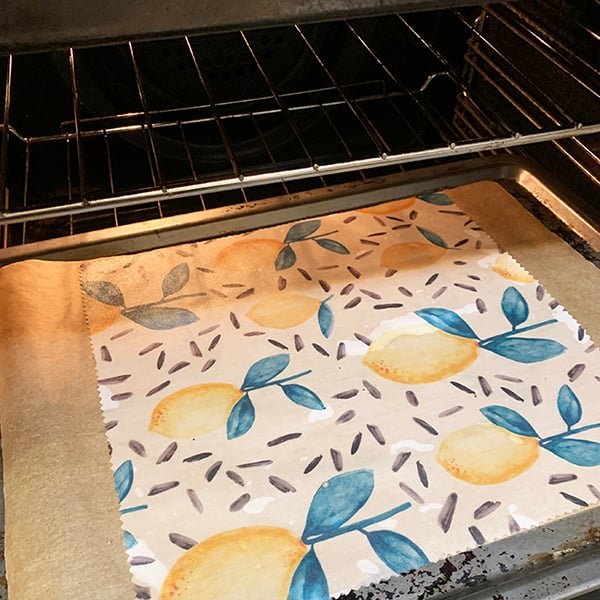
**As an extra step after this, you can add a few drops of Jojoba Oil across the fabric. This helps keep the coating soft and supple, and it is also food safe. This is optional and your beeswax wraps will still be perfect without it! - Once your fabric is happily covered in beeswax, place the tray into the oven.
- Keep an eye on the fabric piece whilst it’s in the oven, as you want to take it out when all the wax has melted. This will take about 5 minutes.

- Once the wax has all melted, this is where you need to be quick and careful! Take the tray out of the oven and place it down on the bench. Whilst the wax is still melted, grab the top two corners of your fabric and lift it up. Hold the fabric over your tray until the wax has completely dried and hardened.
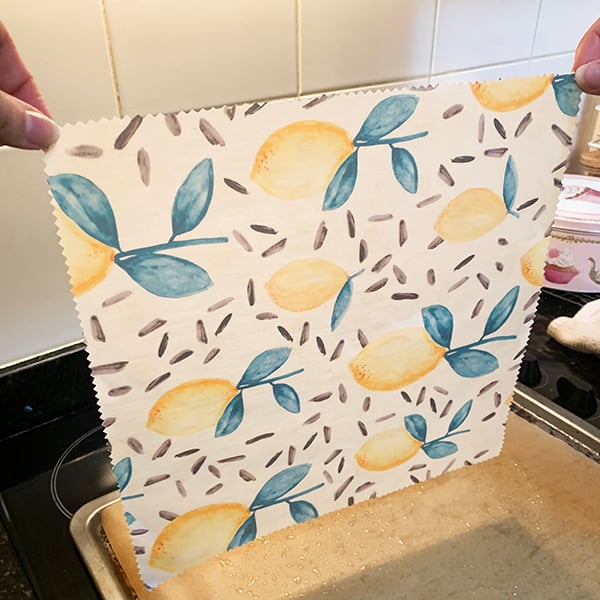
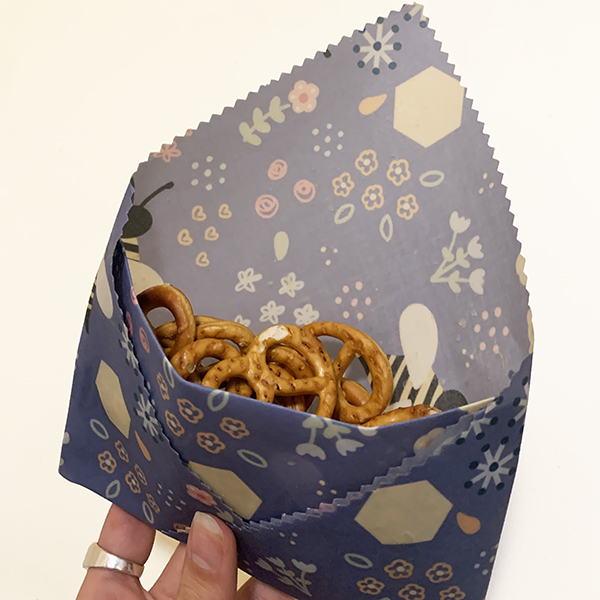
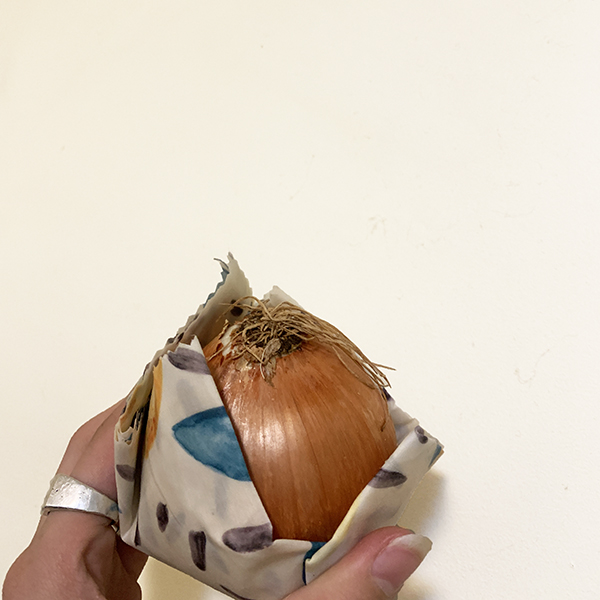
You now have your own wonderful beeswax wrap! This can be used to cover opened jars, leftover meals, wrap around cut fruit and veg, or to close up open fresh food packaging. You can also fold your beeswax wraps to create some reusable ‘sandwich bags’ or snack pouches.
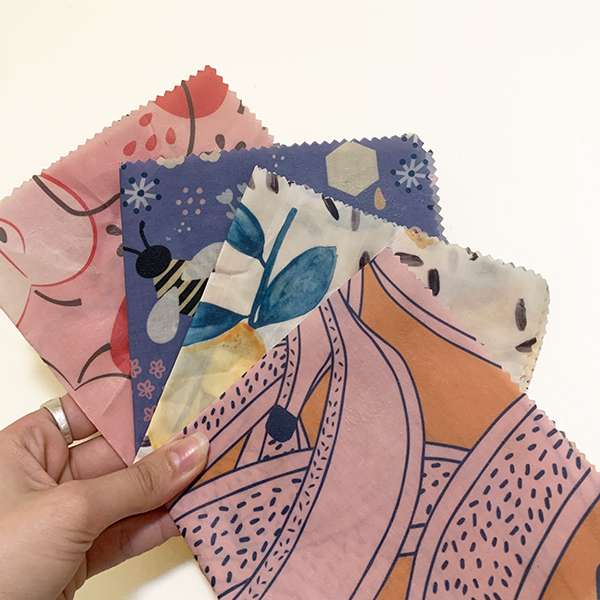

All the featured designs that we’ve used to create our Beeswax Wraps are available to order via our Fabric Shop. You can also design your own fabric and make a beeswax wrap with your own artwork!