Tag Archives: design your own fabric

DIY Bean Bag | DIY with Digital Fabrics

DIY Bean Bag
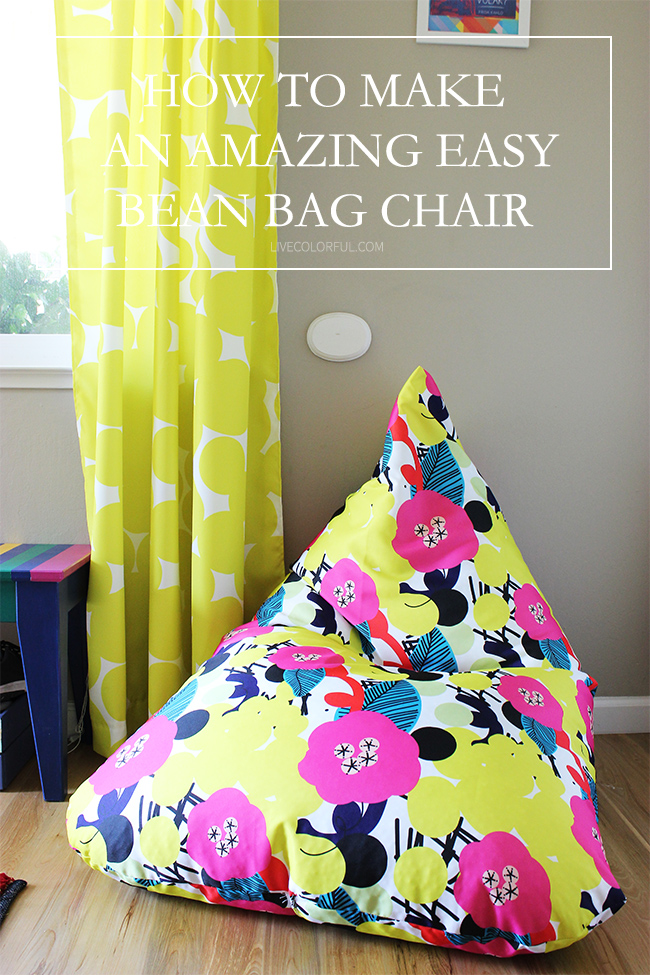
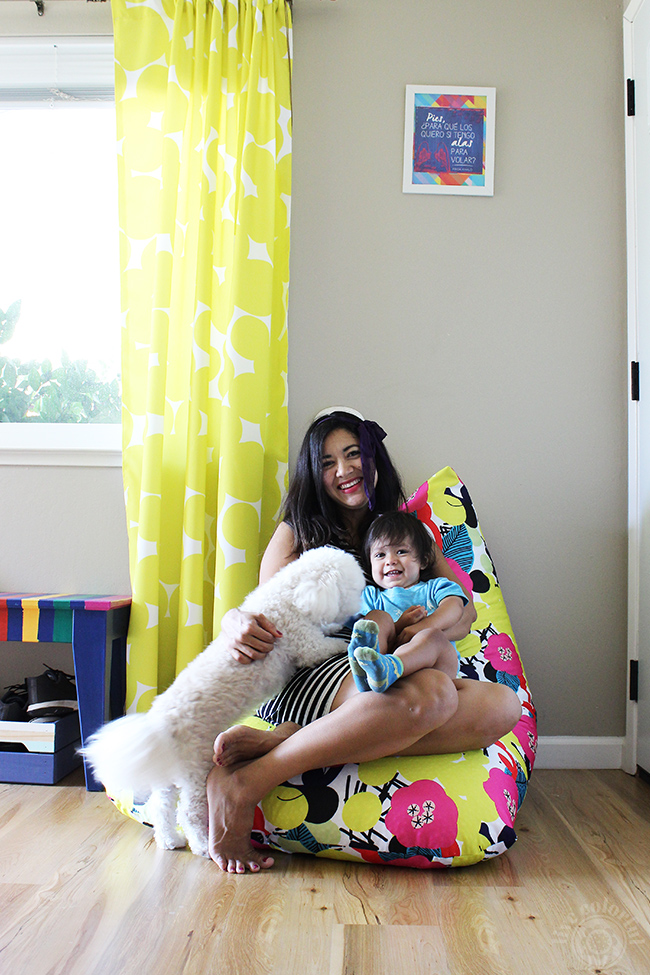
Elba from Live Colorful created another colorful & creative DIY tutorial: a DIY Bean Bag. For this she used the Cheery fabric she designed and which is available in our fabric shopDid you know that printing fabrics with us is super easy? Create your design, Upload and pay, Receive your fabric!

From DIY clothes to DIY Home Decor, our mission at Digital Fabrics is to help you to bring your creativity and your amazing ideas to life!

Elba got the inspiration for her DIY project from Pinterest, but added some fun curves to make it look more organic.


MATERIALS NEEDED:

  1. 2 meters of heavyweight fabric. Waratah drill (147 cm wide). Design: Cheery.
  2. 2 packs of bean bag chair refill (100 Liter refill bags)
  3. Sewing machine
  4. Thread
  5. Scissors
  6. Pins

DIY Bean Bag

DIY Bean Bag | DIY with Digital Fabrics

DIY Bean Bag
Elba from Live Colorful created another colorful & creative DIY tutorial: a DIY Bean Bag. For this she used the Cheery fabric she designed and which is available in our fabric shopDid you know that printing fabrics with us is super easy? Create your design, Upload and pay, Receive your fabric!

From DIY clothes to DIY Home Decor, our mission at Digital Fabrics is to help you to bring your creativity and your amazing ideas to life!

Elba got the inspiration for her DIY project from Pinterest, but added some fun curves to make it look more organic.


MATERIALS NEEDED:

  1. 2 meters of heavyweight fabric. Waratah drill (147 cm wide). Design: Cheery.
  2. 2 packs of bean bag chair refill (100 Liter refill bags)
  3. Sewing machine
  4. Thread
  5. Scissors
  6. Pins

DIY Bean Bag

Designing Fabric: How To Make A Repeat Pattern – Full Drop repeat in Photoshop

For this tutorial we have choose Full Drop pattern repeat. It is not an advanced technic, mostly for those who is not very proficient in Photoshop yet like to be creative and play.  This fabric pattern repeat tutorial mainly suitable for photographic and abstract images.

Full Drop repeat in Photoshop

Full Drop Repeats can also be referred to as Square repeat.

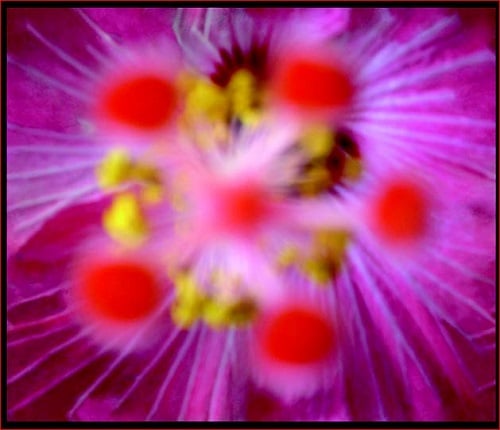
Open your artwork file in Photoshop. It’s always a good idea to check the resolution quality before beginning, a minimum of 150 dpi is recommended. Crop/alter the image as desired till you are happy with an artwork that will be tiled to repeat seamlessly.
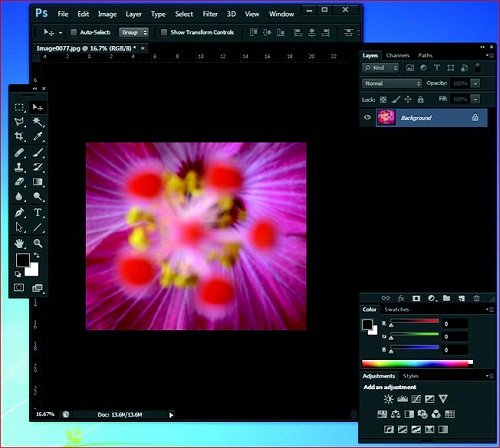
first full drop screenshot

Original image – all four corners of image are relatively different and this is what will need to be fixed to create a seamless repeat.
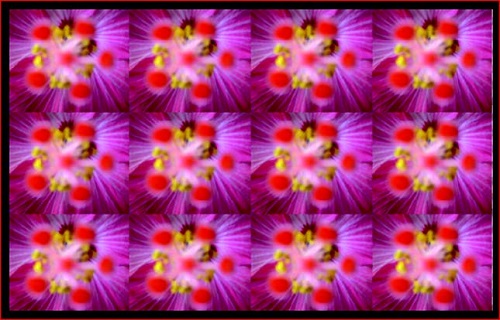
screenshot 2

Original image with no fixing of the seams, looks mismatched.

Take note of the pixel size of your image (Image – Image Size)
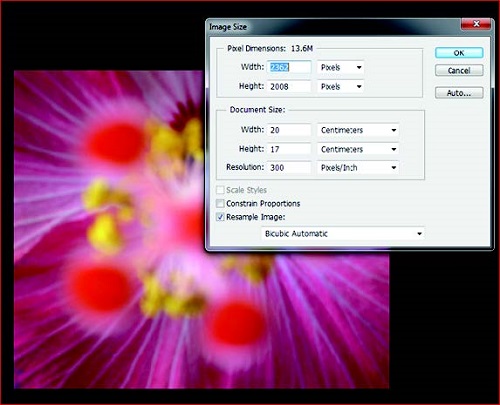
third full drop screenshot

As well as HALF this amount. An easy way to do this is let the computer decide, halve the resolution amount (150 dpi in this case), and re-note the new pixel dimensions. Click cancel as you don’t want to actually change the resolution, just take note of it.

Now cut (OFFSET) the image in half both length and width ways. This will give the edges or seams that need to be fixed for seamless repeating. It is ideal to do this step with a flattened layer. (Filter – Other – Offset) Now put in the HALVED horizontal and vertical values determined in step 2 and make sure that Wrap Around is selected. Click OK.
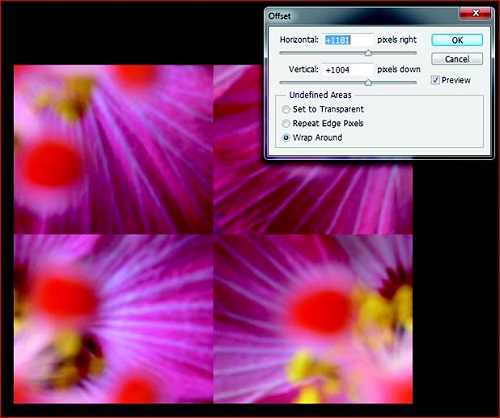
fourth fulldrop screenshot

It is clear to see where the image needs to be fixed to create a seamless repeat, where no harsh contrasting lines can be seen as in the above image. There are several tools to use in photoshop that you can use to do this including (but not limited to) stamp, blur, patch, clone…enjoy the play!
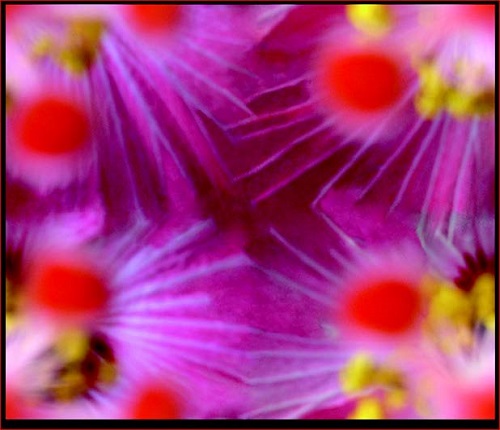
fifth full drop screenshot

It is a good idea to offset the now fixed image, just to check the four points that you haven’t missed anything and nothing is looking odd.
sixth full drop screenshot

This now forms your Repeat Tile and this is the tile/image that is required when sending artwork to a printer or uploading it for fabric printing online.

SAVE!  Save file as (Artwork Name)_Repeat Tile
You must now check your repeat and to see it duplicated across the width and down the length of your fabric. An easy way to do so is to define your reworked artwork as a pattern. Menu>Edit>Define Pattern>Save as preferred name.
Open a new blank document with a set up reflecting something similar to a roll of fabric i.e. 145 x 100 cm depending on you repeat tile dimensions.
Menu>Edit>Fill>Select your saved pattern from the drop down box>OK
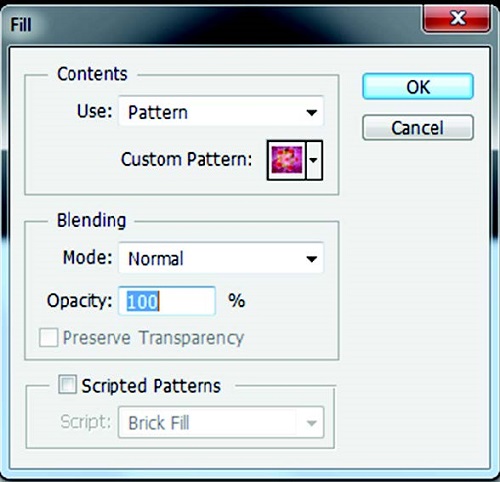
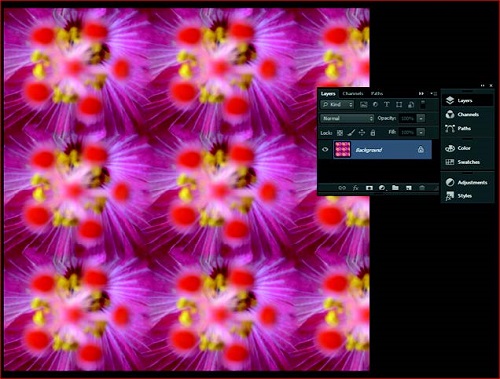
seventh full drop screenshot

(shown below is only 50 x 50 cm)

eigth full drop screenshot

Now you can use your repeat pattern or repeat tile for digital custom fabric printing.


Save

Save
Designing Fabric: How To Make A Repeat Pattern – Mirror Repeat Tutorial in Photoshop

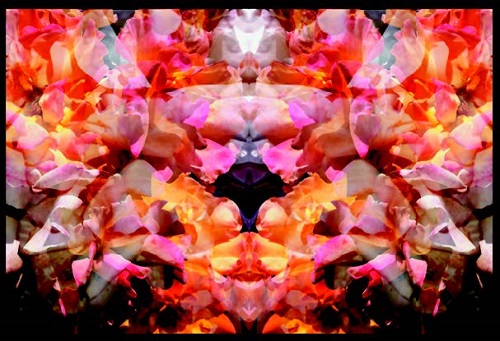
Mirror repeat technic is one of the easiest way to make a repeat pattern with any digital image, photographs, graphic artwork or painting. Mirror repeat creates an interesting effect, simple and quick, doesn’t require great Photoshop skills. To design your own fabric you can either use our Photoshop tutorial or Fabric Uploader with an instant Mirror repeat option.

Mirror Repeat Tutorial in Photoshop

Open your artwork in Photoshop, make any adjustments to the dimensions (width/height) at this stage.

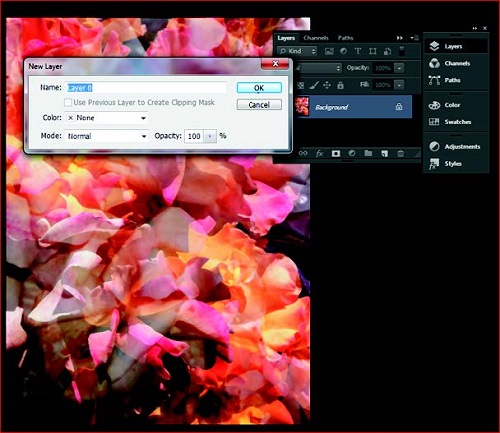
Double click (press OK) the background layer in your layers panel so it is no longer locked.

First tutorial screenshot

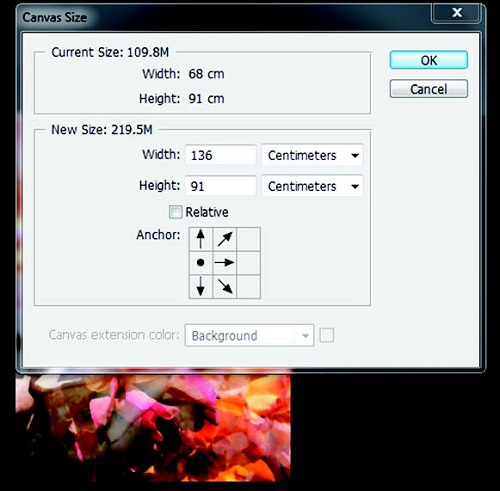
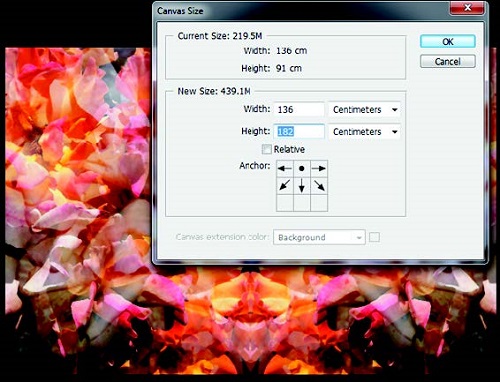
Increase your artboard size, go to Menu > Image > Canvas Size > double the width of the canvas size making sure to click the left arrow so the increase only happens to one side.

second tutorial screenshot

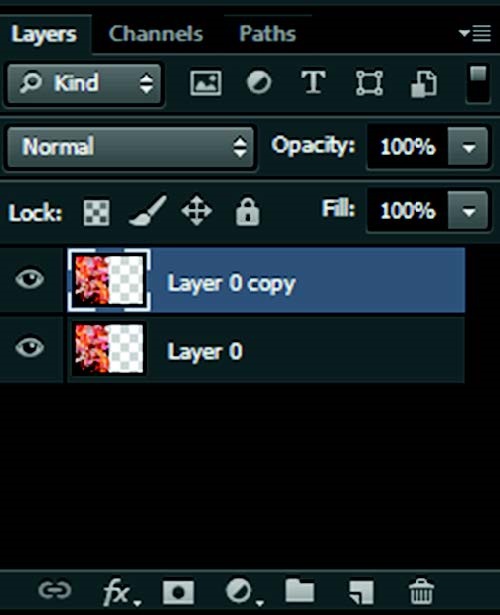
Now duplicate the original layer by clicking and dragging it to the second from the right icon at the base of the layers panel.

third tutorial screenshot

With the duplicated layer selected go to Menu>Edit>Transform>Flip Horizontally>OK. Drag the flipped layer across (holding down SHIFT key) so the layer slots into place in line with the original layer. Make sure to zoom into mirroed join beetwin the images to double check that no pixels are out. Merge layers by sellecting them both, right click and choose Merger Layers option.

fourth tutorial screenshot

Repeat this step again, but mirroring the length/height of the image. When you transform the duplicated layer, make sure to flip VERTICALLY before dragging into place.

fifth tutorial screenshot

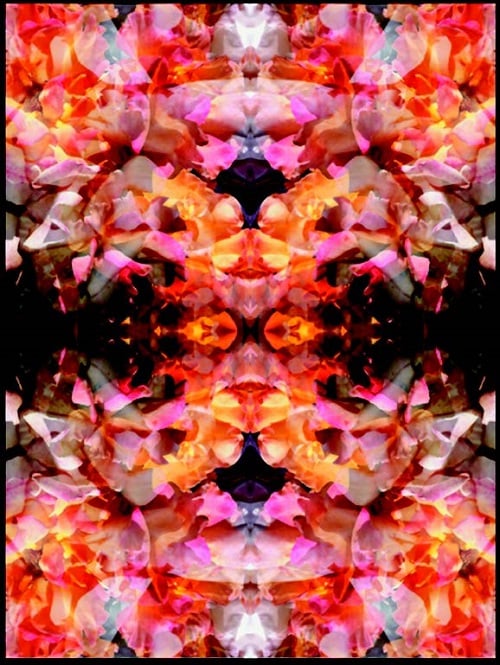
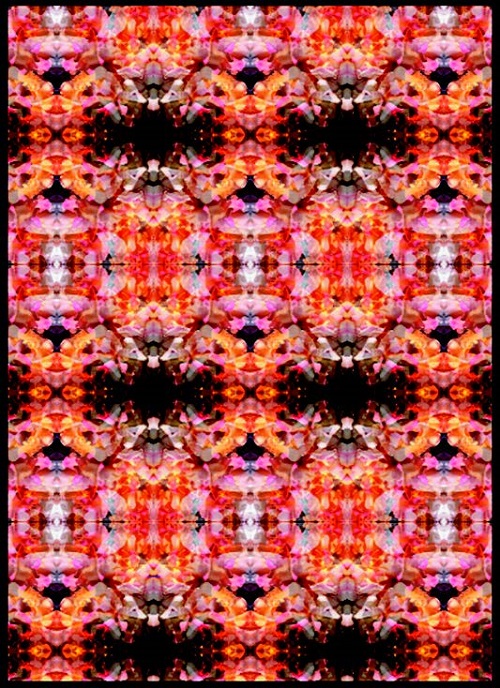
Flatten the layers, right click on one of the layers, select Flatten Image option. This is now your mirrored repeat tile that repeats
seamlessly on all four sides! Now you can use your design for digital custom fabric printing.

sixth tutorial screenshot

final tutorial screenshot

Save

Save

Save

Save

Designing Fabric: How To Make A Repeat Pattern – Full Drop repeat in Photoshop

For this tutorial we have choose Full Drop pattern repeat. It is not an advanced technic, mostly for those who is not very proficient in Photoshop yet like to be creative and play.  This fabric pattern repeat tutorial mainly suitable for photographic and abstract images.

Full Drop repeat in Photoshop

Full Drop Repeats can also be referred to as Square repeat.

Open your artwork file in Photoshop. It’s always a good idea to check the resolution quality before beginning, a minimum of 150 dpi is recommended. Crop/alter the image as desired till you are happy with an artwork that will be tiled to repeat seamlessly.

first full drop screenshot

Original image – all four corners of image are relatively different and this is what will need to be fixed to create a seamless repeat.

screenshot 2

Original image with no fixing of the seams, looks mismatched.

Take note of the pixel size of your image (Image – Image Size)

third full drop screenshot

As well as HALF this amount. An easy way to do this is let the computer decide, halve the resolution amount (150 dpi in this case), and re-note the new pixel dimensions. Click cancel as you don’t want to actually change the resolution, just take note of it.

Now cut (OFFSET) the image in half both length and width ways. This will give the edges or seams that need to be fixed for seamless repeating. It is ideal to do this step with a flattened layer. (Filter – Other – Offset) Now put in the HALVED horizontal and vertical values determined in step 2 and make sure that Wrap Around is selected. Click OK.

fourth fulldrop screenshot

It is clear to see where the image needs to be fixed to create a seamless repeat, where no harsh contrasting lines can be seen as in the above image. There are several tools to use in photoshop that you can use to do this including (but not limited to) stamp, blur, patch, clone…enjoy the play!

fifth full drop screenshot

It is a good idea to offset the now fixed image, just to check the four points that you haven’t missed anything and nothing is looking odd.

sixth full drop screenshot

This now forms your Repeat Tile and this is the tile/image that is required when sending artwork to a printer or uploading it for fabric printing online.

SAVE!  Save file as (Artwork Name)_Repeat Tile
You must now check your repeat and to see it duplicated across the width and down the length of your fabric. An easy way to do so is to define your reworked artwork as a pattern. Menu>Edit>Define Pattern>Save as preferred name.
Open a new blank document with a set up reflecting something similar to a roll of fabric i.e. 145 x 100 cm depending on you repeat tile dimensions.
Menu>Edit>Fill>Select your saved pattern from the drop down box>OK

seventh full drop screenshot

(shown below is only 50 x 50 cm)

eigth full drop screenshot

Now you can use your repeat pattern or repeat tile for digital custom fabric printing.


Save

Save
Designing Fabric: How To Make A Repeat Pattern – Mirror Repeat Tutorial in Photoshop

Mirror repeat technic is one of the easiest way to make a repeat pattern with any digital image, photographs, graphic artwork or painting. Mirror repeat creates an interesting effect, simple and quick, doesn’t require great Photoshop skills. To design your own fabric you can either use our Photoshop tutorial or Fabric Uploader with an instant Mirror repeat option.

Mirror Repeat Tutorial in Photoshop

Open your artwork in Photoshop, make any adjustments to the dimensions (width/height) at this stage.

Double click (press OK) the background layer in your layers panel so it is no longer locked.

First tutorial screenshot

Increase your artboard size, go to Menu > Image > Canvas Size > double the width of the canvas size making sure to click the left arrow so the increase only happens to one side.

second tutorial screenshot

Now duplicate the original layer by clicking and dragging it to the second from the right icon at the base of the layers panel.

third tutorial screenshot

With the duplicated layer selected go to Menu>Edit>Transform>Flip Horizontally>OK. Drag the flipped layer across (holding down SHIFT key) so the layer slots into place in line with the original layer. Make sure to zoom into mirroed join beetwin the images to double check that no pixels are out. Merge layers by sellecting them both, right click and choose Merger Layers option.

fourth tutorial screenshot

Repeat this step again, but mirroring the length/height of the image. When you transform the duplicated layer, make sure to flip VERTICALLY before dragging into place.

fifth tutorial screenshot

Flatten the layers, right click on one of the layers, select Flatten Image option. This is now your mirrored repeat tile that repeats
seamlessly on all four sides! Now you can use your design for digital custom fabric printing.

sixth tutorial screenshot

final tutorial screenshot

Save

Save
Save

Save

DIY Connie Dress Sew along w/ Style Sew Me | DIY with Digital Fabrics

diy with digital fabrics style sew me
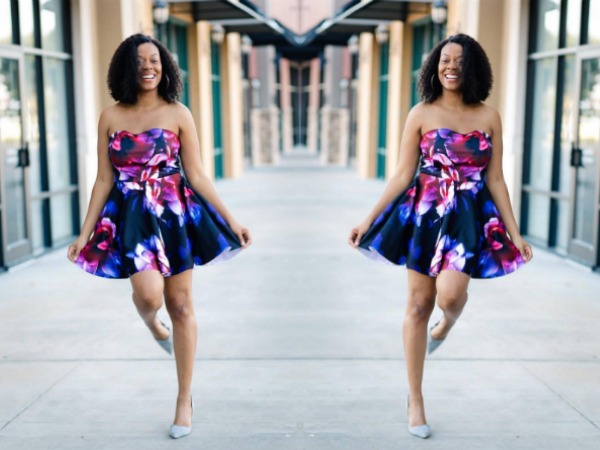
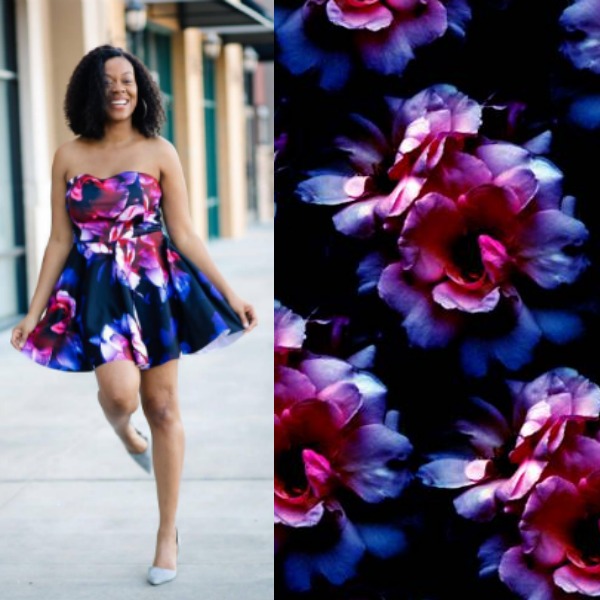
Getting beautiful fabric is just the beginning because what will you make with it once you receive it? Eryn from Style Sew Me created a gorgeous DIY dress using Digital Fabrics Bold Rose Midnight Purple fabricOur mission at Digital Fabrics is to help you to bring your creativity and your amazing ideas to life!

digital fabrics style sew me
To sew the dress she used her Connie Dress pattern which you can purchase through her site. And shop the Bold Rose Midnight Purple fabric and more in the Digital Fabrics shop.

See how you can DIY this look here

DIY Connie Dress Sew along w/ Style Sew Me | DIY with Digital Fabrics

diy with digital fabrics style sew me
Getting beautiful fabric is just the beginning because what will you make with it once you receive it? Eryn from Style Sew Me created a gorgeous DIY dress using Digital Fabrics Bold Rose Midnight Purple fabricOur mission at Digital Fabrics is to help you to bring your creativity and your amazing ideas to life!

digital fabrics style sew me
To sew the dress she used her Connie Dress pattern which you can purchase through her site. And shop the Bold Rose Midnight Purple fabric and more in the Digital Fabrics shop.

See how you can DIY this look here

#printsinfashion | Back To School Stripes & Plaid

prints in fashion back to school plaid fabric stripe fabric 1

Photo credit: Elle

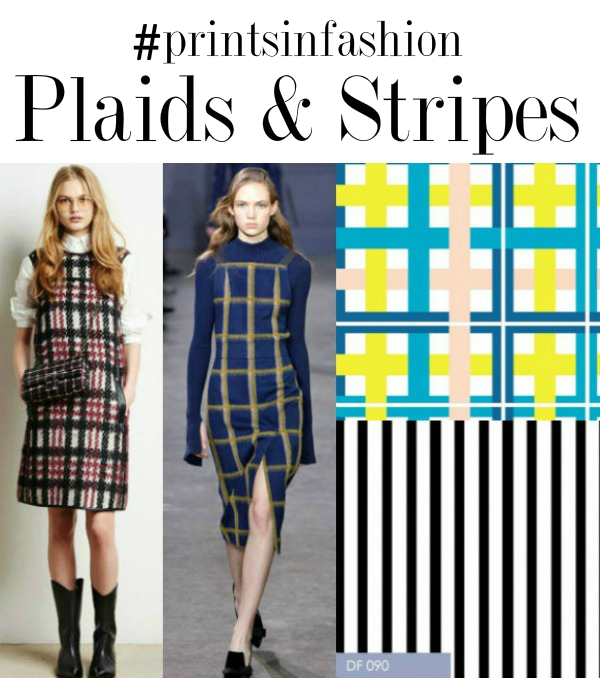
If you attended an all uniform school, the upcoming season will bring sweet memories. Schoolgirl jumpers are one of the hottest Fall Winter 2016 trends and what better way to express it than with striped and plaid fabrics?

The beauty of uniforms is that you don’t need to think about what you wear and you simply put it on. And with so many young students going back to school (or soon), creating your a uniform with a unique plaid or striped fabric can be a stylish way to combine book smarts with fashion.

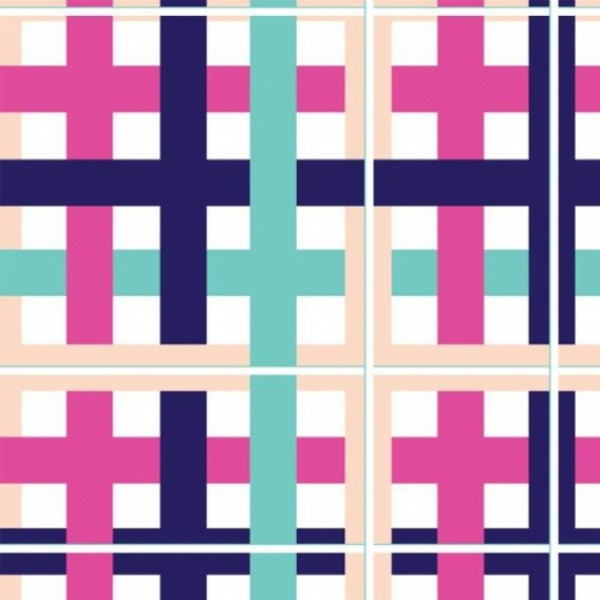
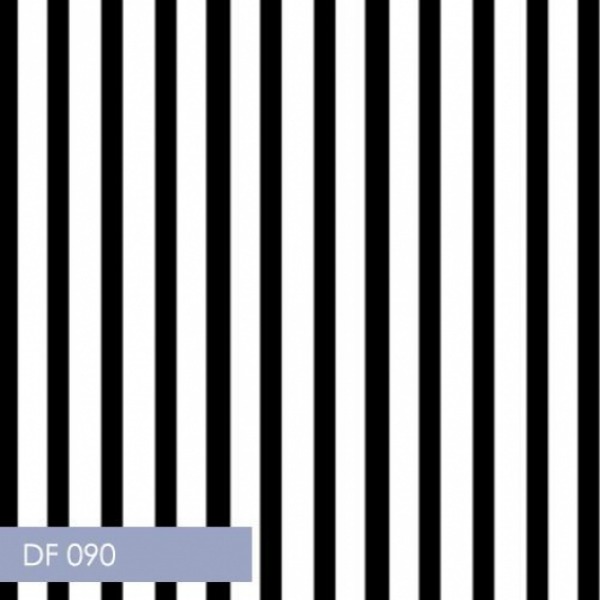
Get inspired with these plaid and striped fabrics. All our products are 100% Printed and made in Australia.

plaid fabric
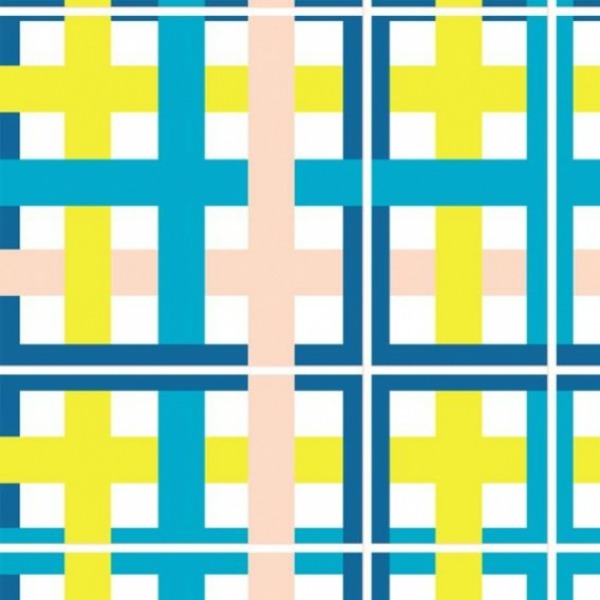
Plaid fun in Yellow fabric

plaid fabric
Plaid Fun in Navy Blue fabric

striped fabric
Basic Stripe Fabric

striped fabric
Stripe Fabric

What Back To School fabric is your favorite?

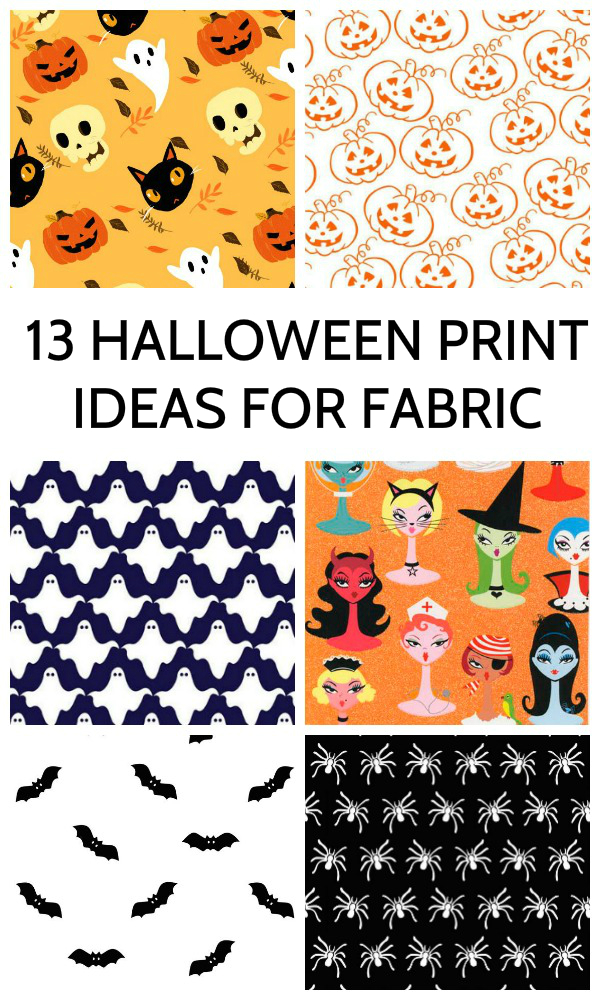
13 Halloween Print Ideas for Fabric

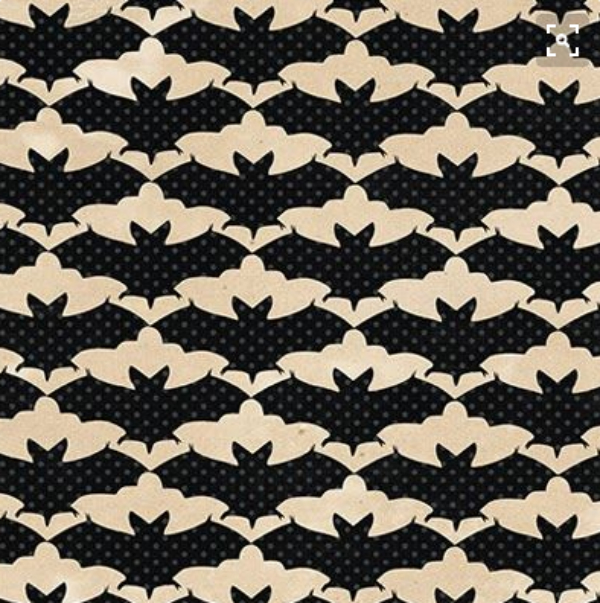
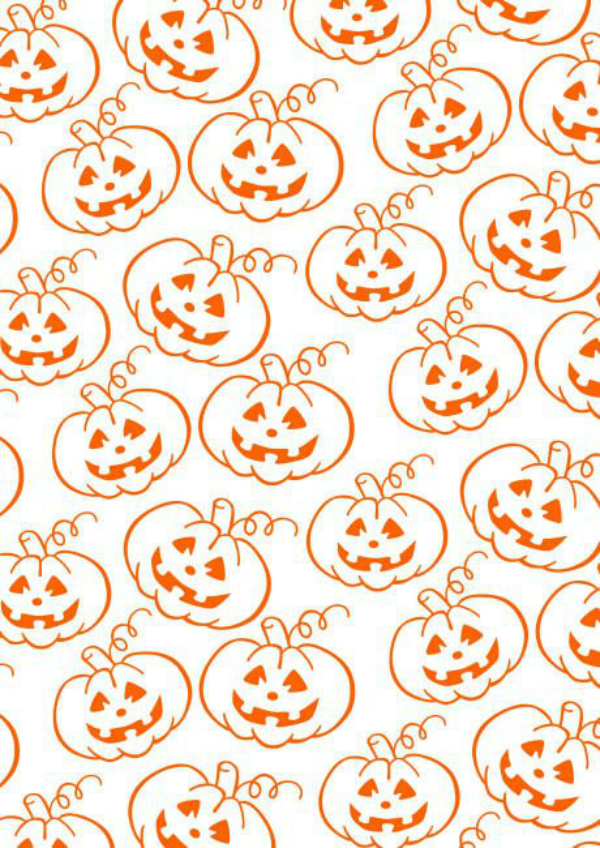
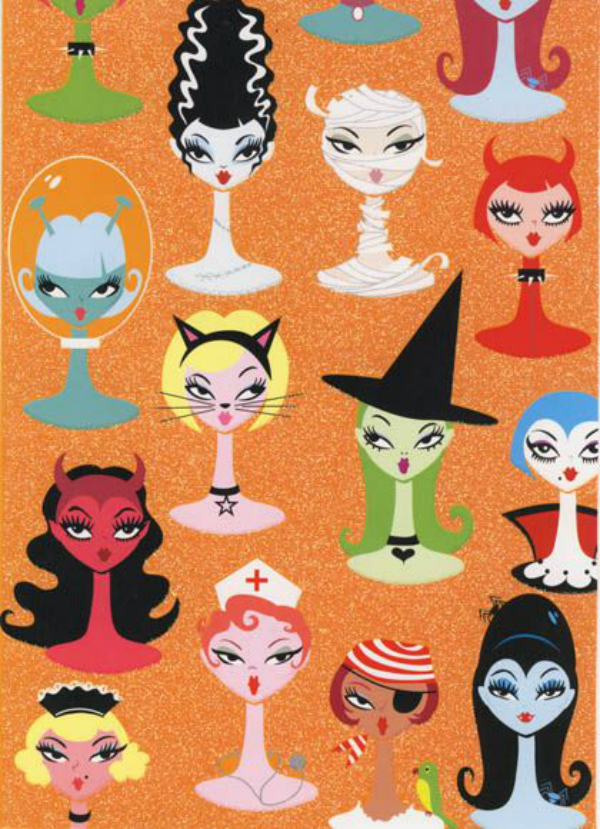
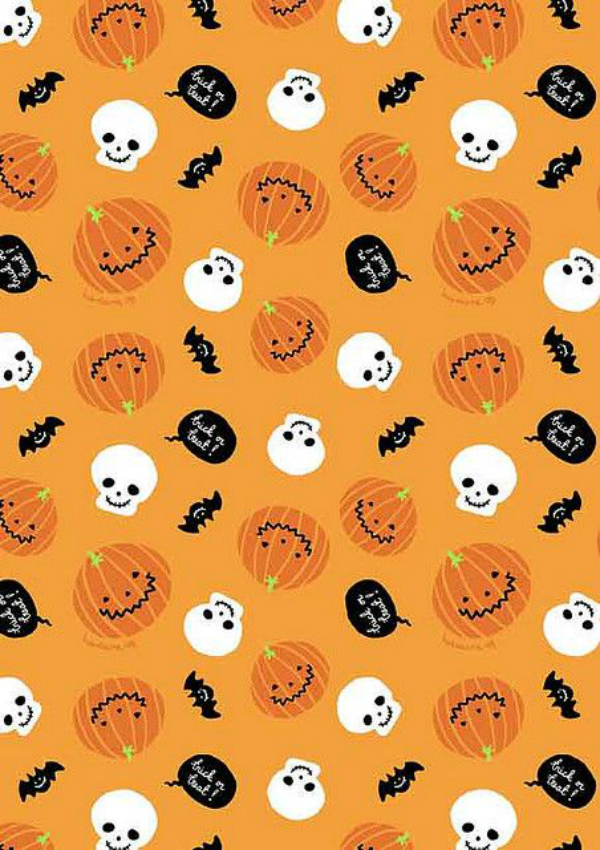
13 Halloween Prints Ideas for Fabric
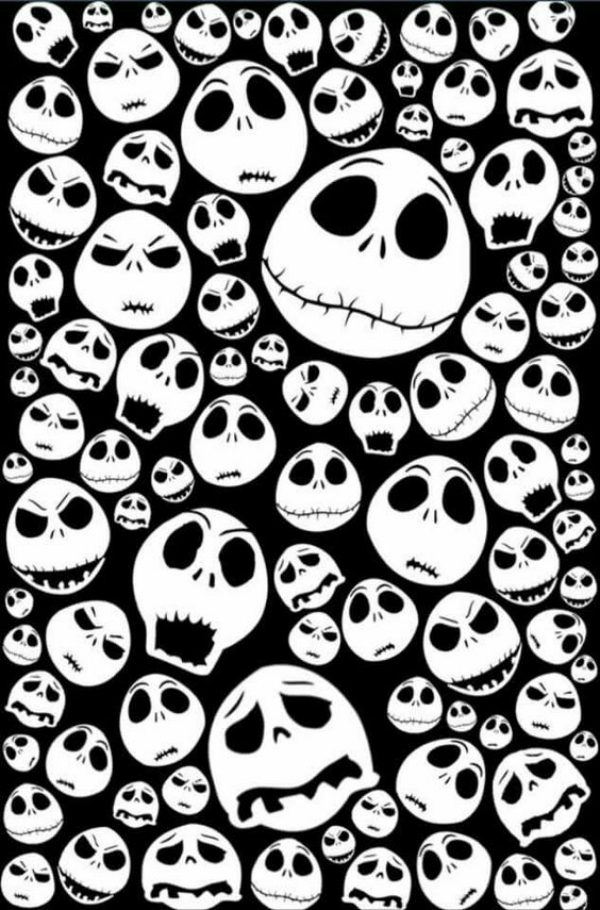
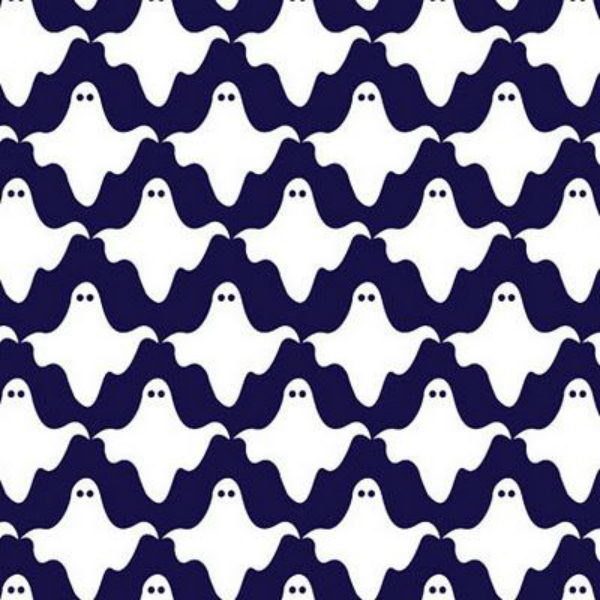
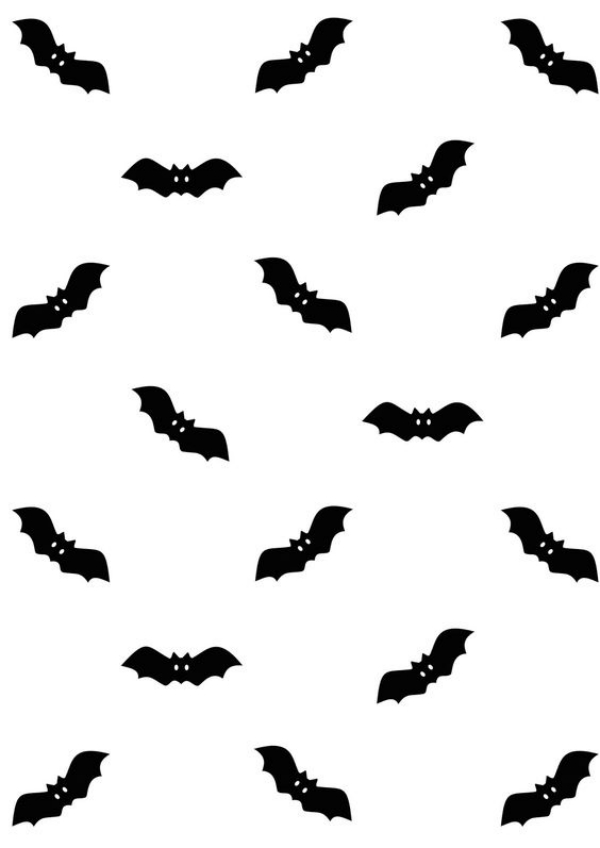
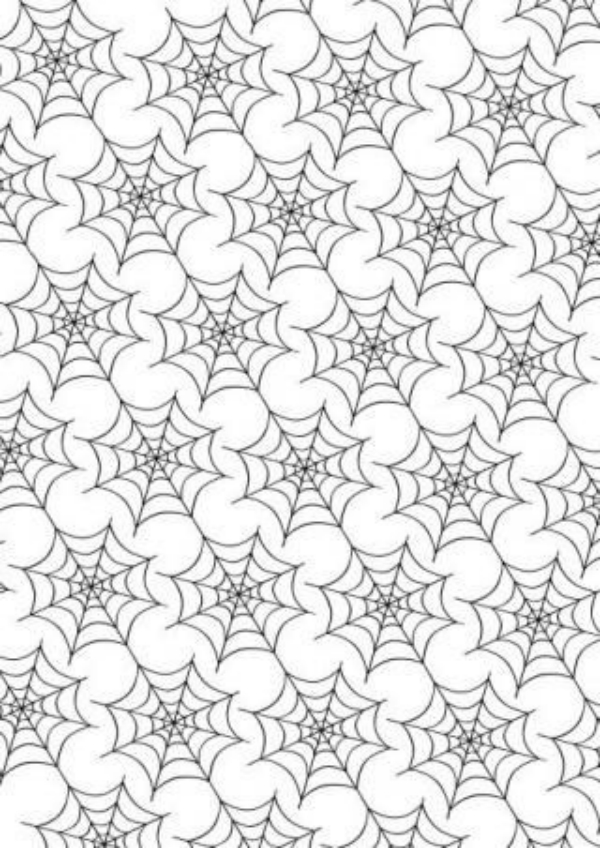
Halloween is one of those holidays you can go all out when it comes to creativity. From DIY Halloween costumes to spooky table runners, it’s the perfect event to go all out and add a personal touch to your outfit and your home. Our mission at Digital Fabrics is to help you to bring your creativity and your amazing ideas to life!

If you’re having a themed Halloween party creating custom made fabrics is the way to go to make it cohesive, fun and have the colors that you want. But what do you choose?

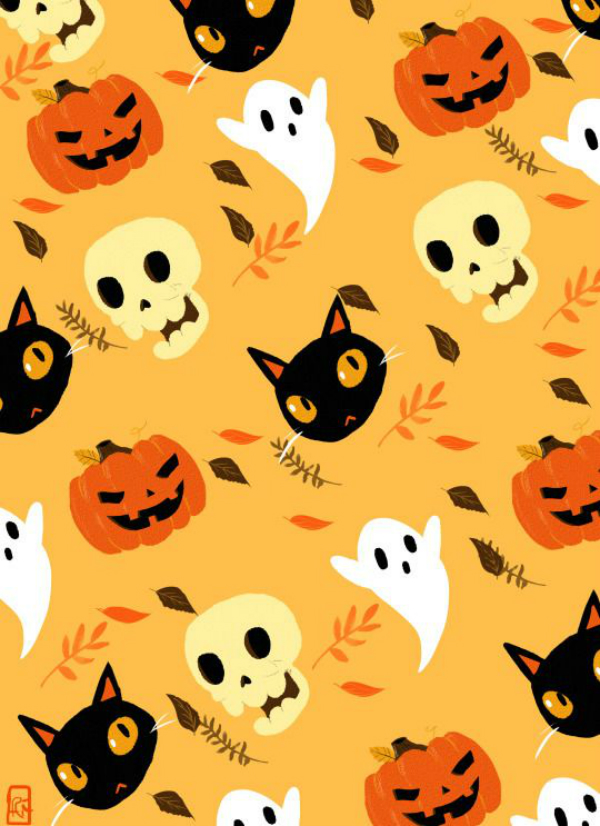
If you’re in need for some fun Halloween prints ideas for fabrics check out these 13 ‘scary’ designs below for inspiration. Create your design, Upload and pay, Receive your fabric!
All our products are 100% Printed and made in Australia

13 Halloween Prints Ideas for Fabric

Photo credit: Hubpages

13 Halloween Prints Ideas for Fabric

Photo credits: Print Pattern

13 Halloween Prints Ideas for Fabric

Photo credit: Babalisme

13 Halloween Prints Ideas for Fabric

Photo credit: Pinterest

13 Halloween Prints Ideas for Fabric

Photo credit: Me in Lila Park

Which print is your favorite? Let us know in the comments below?