We’ve absolutely adored sharing the beautifully detailed work of Sydney-based designer Aiai Zhang and hope you’ve loved her designs as much as we have! Aiai’s designs are inspired by the harvest season where the leaves turn orange and yellow while fruits grow ripe and juicy. To coincide with Aiai’s “Orange Harvest” collection being made available to all of our customers through our Fabric Shop online, the artist herself has put together a guest blog which we’ve shared below! The blog takes a closer look at Aiai’s creative process, detailing every step from initial sketch to final design. The blog also includes gorgeous photographs and process images which really help tell the story of Aiai’s work and the “Orange Harvest” collection. Keep reading to find out more about Aiai Zhang and her stunning designs!

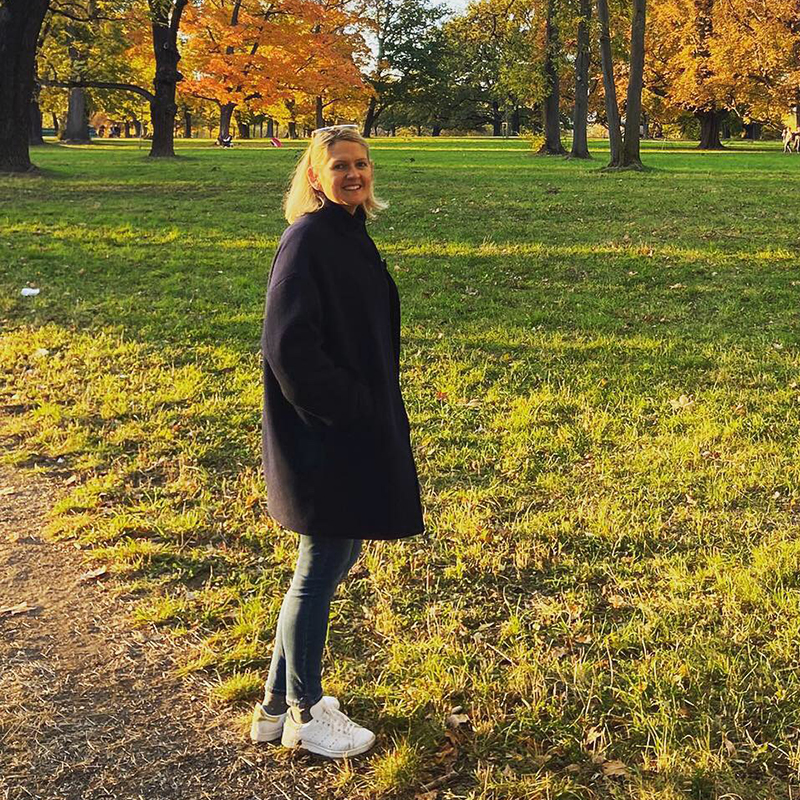
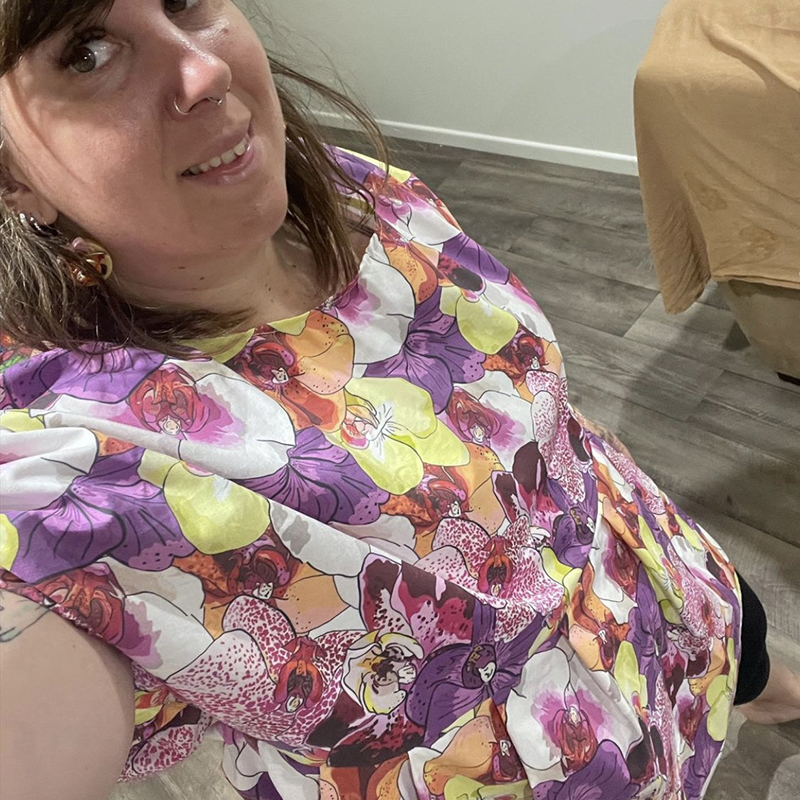
Aiai Zhang
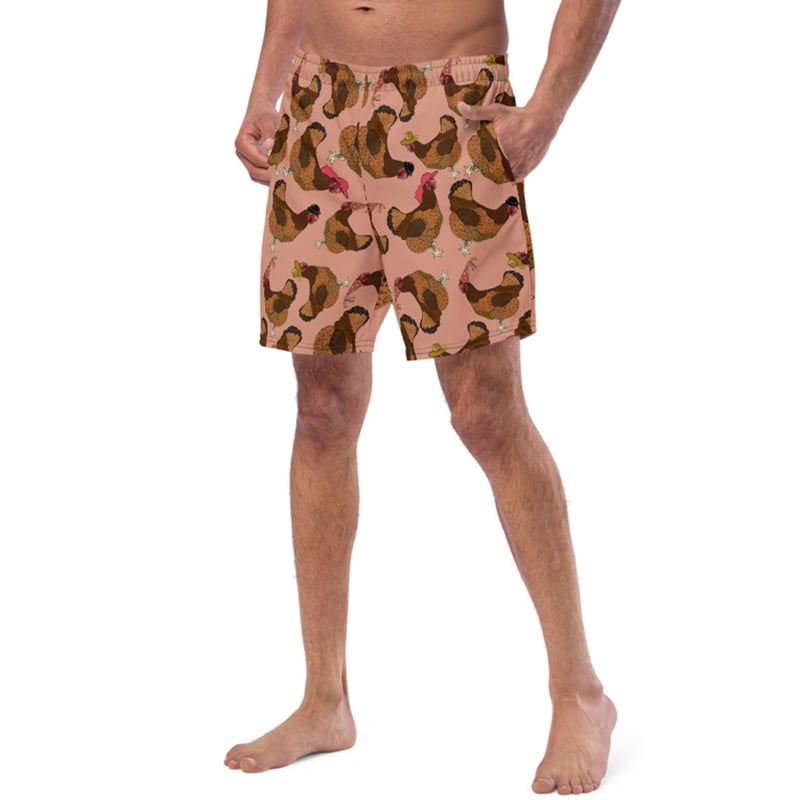
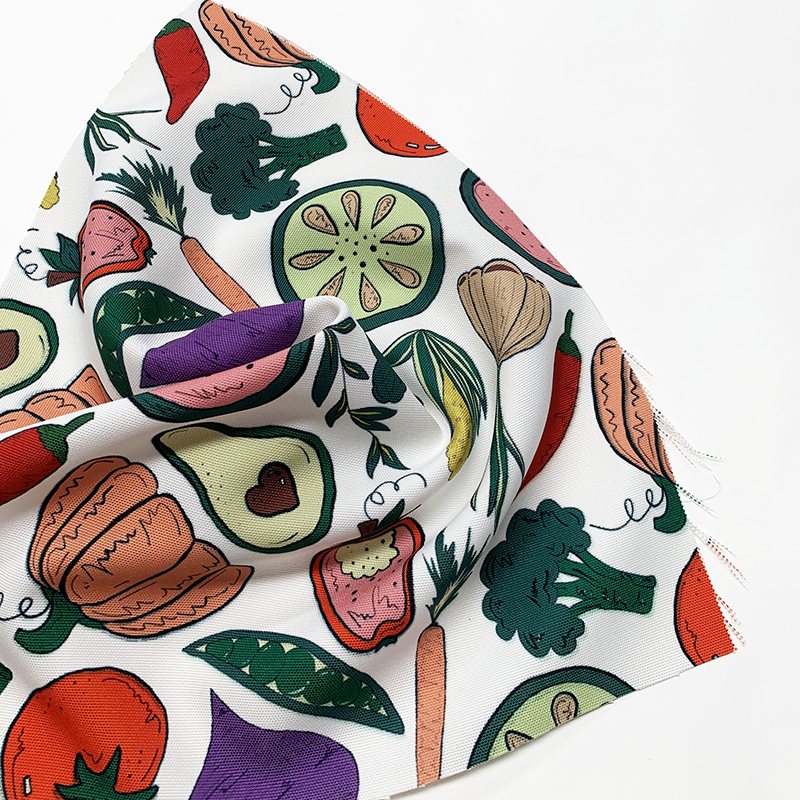
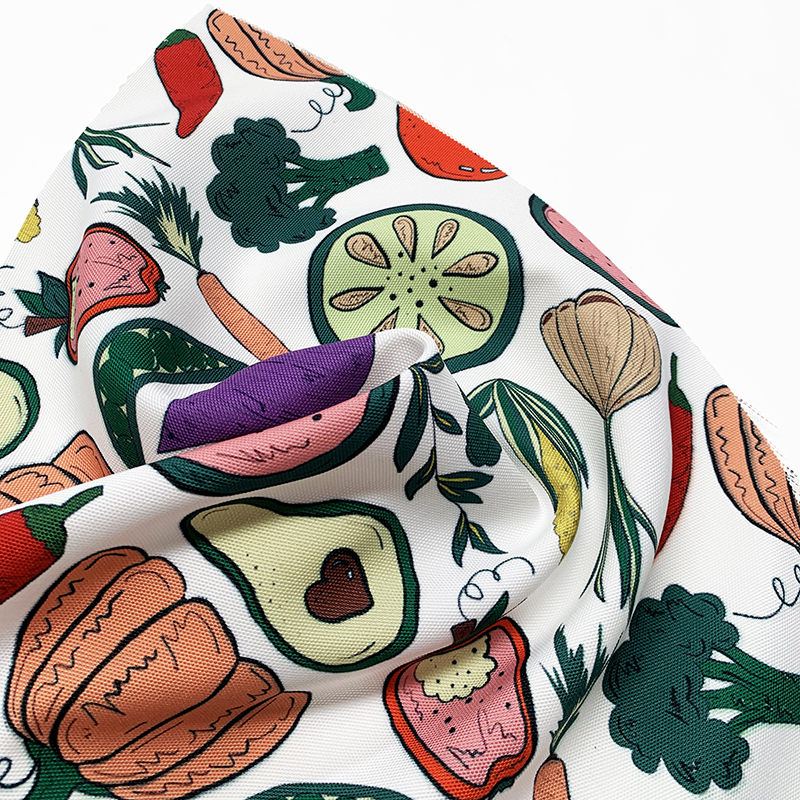
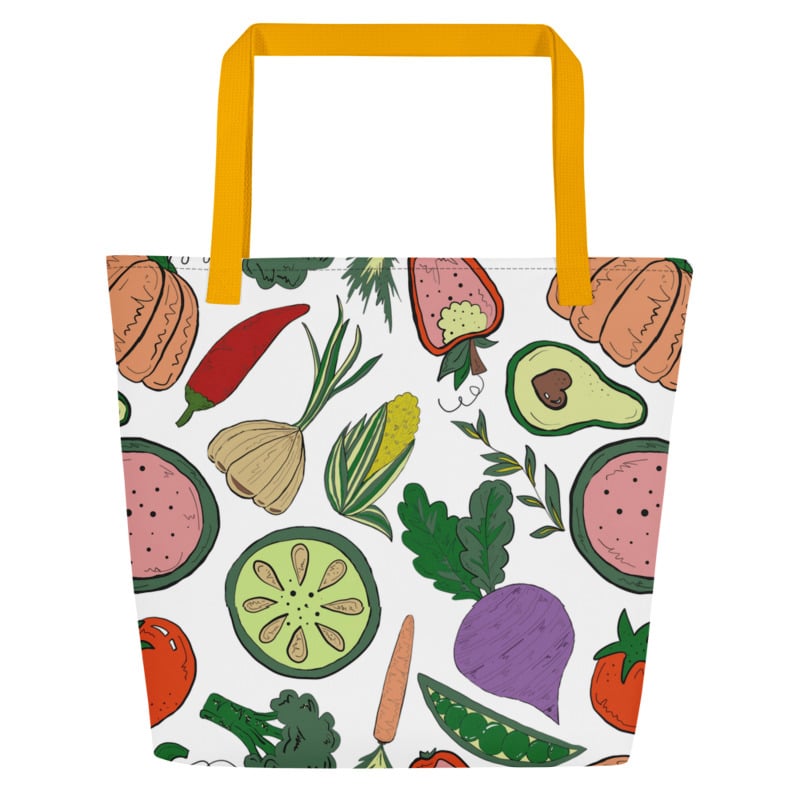
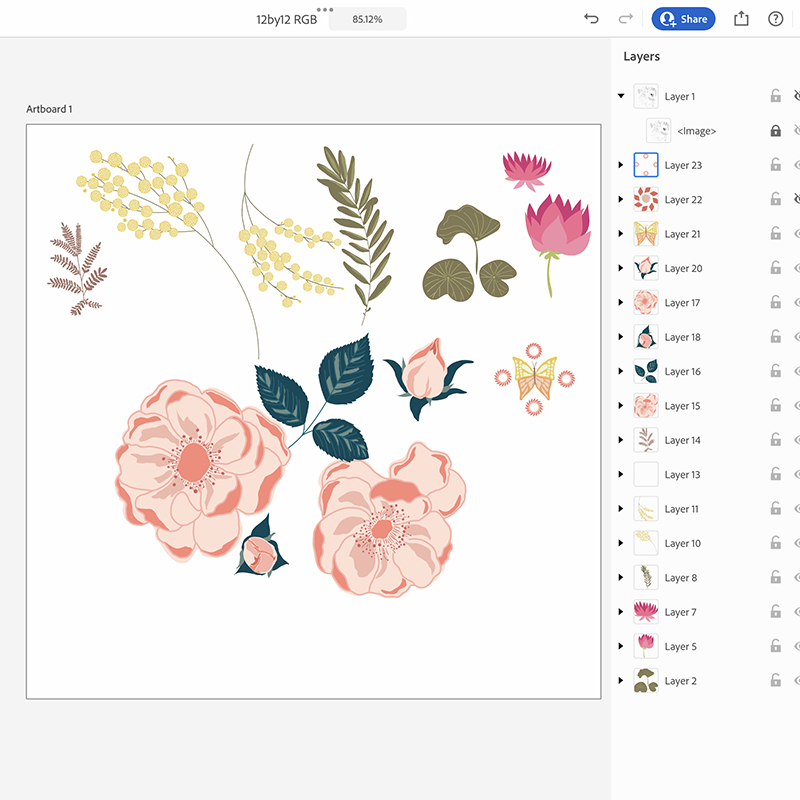
Hi everyone! Aiai here from @breezybirdstudio. I’m very excited to let you know my Orange Harvest collection is now up on the Digital Fabrics shop. You can choose any of these designs to print on a variety of fabrics for your next sewing project, whether it be a garment or homeware decor, we can’t wait to see what you make!
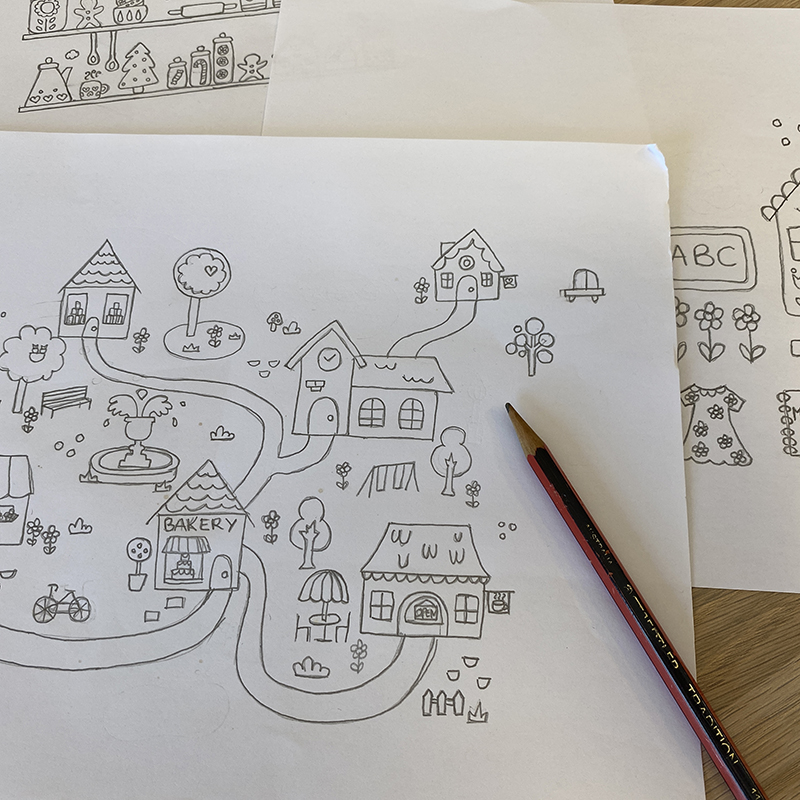
Now you might be curious to know how this all began. Well, nature provides the biggest source of inspiration for everything I create. Travelling to new places definitely helps keep the creative juices flowing. However, most of the time I gather ideas from little things in everyday life. It can be a blooming flower in the garden, unusual patterns on the trees, shrubs waving in the breeze or a cute animal running through the neighbourhood. When I intentionally look for ideas, they seem to appear everywhere.
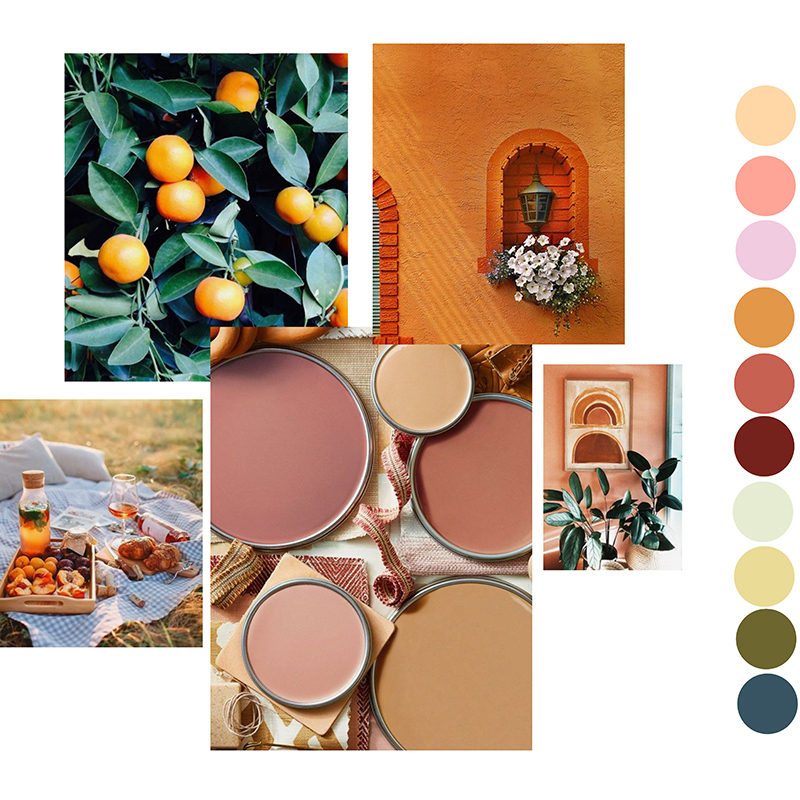
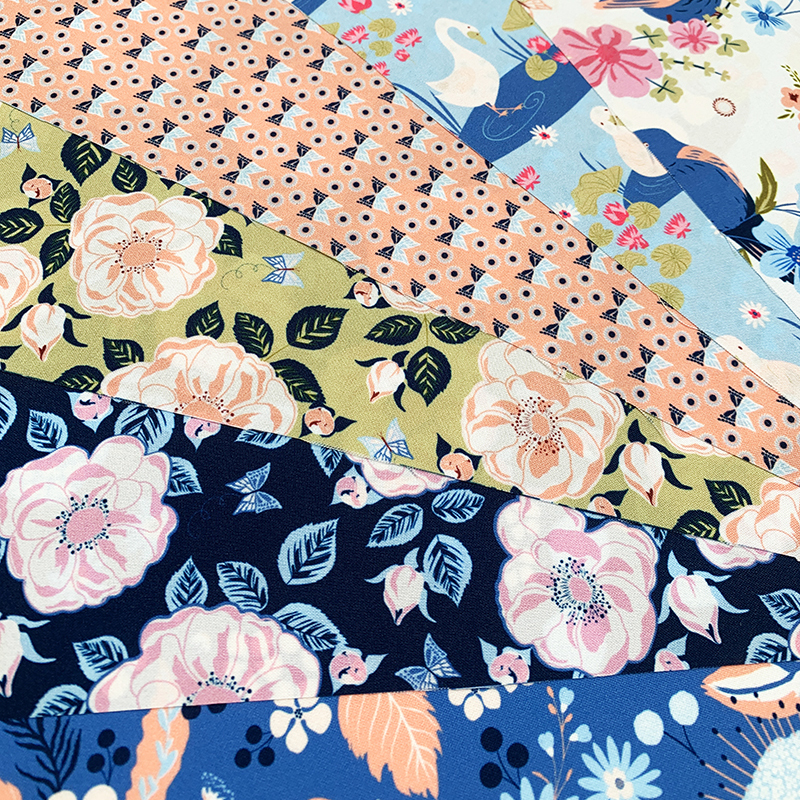
Mood Board for Collection
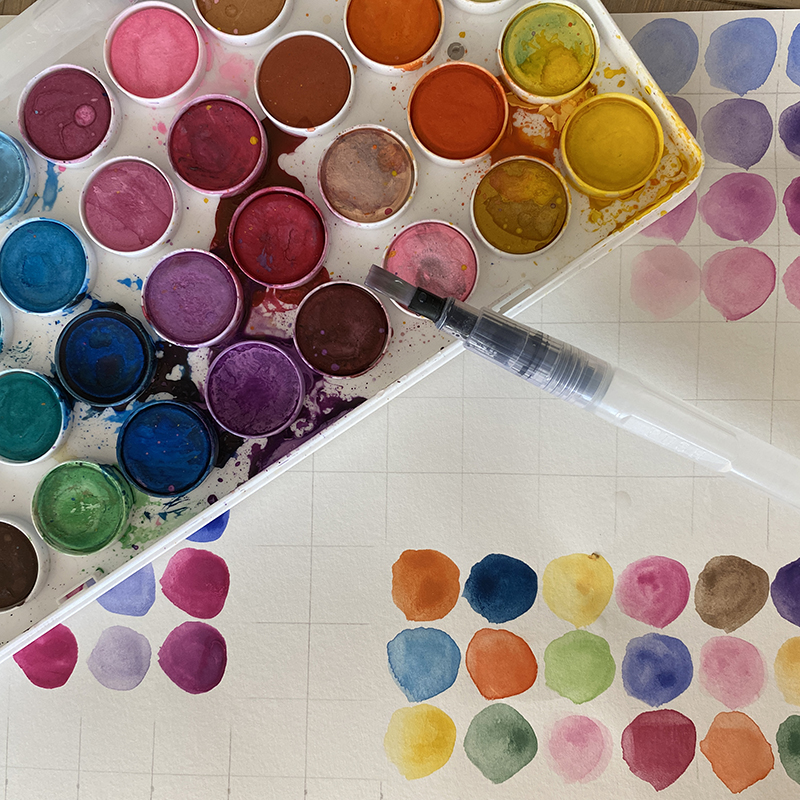
An inspiration board provides a reference point for the entire collection. It helps pull together all the ideas swirling in my head. This is why I have a habit of taking and collecting random images that stand out to me in my surroundings or online. Once I decide on what elements to use, I move onto the most enjoyable part of the process – painting up motifs and choosing a colour palette!
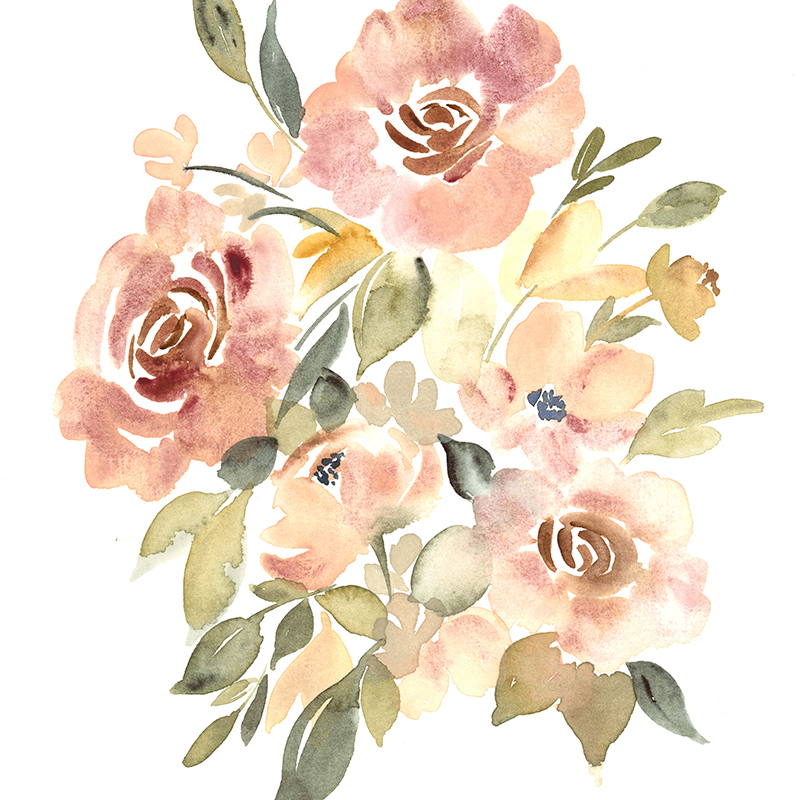
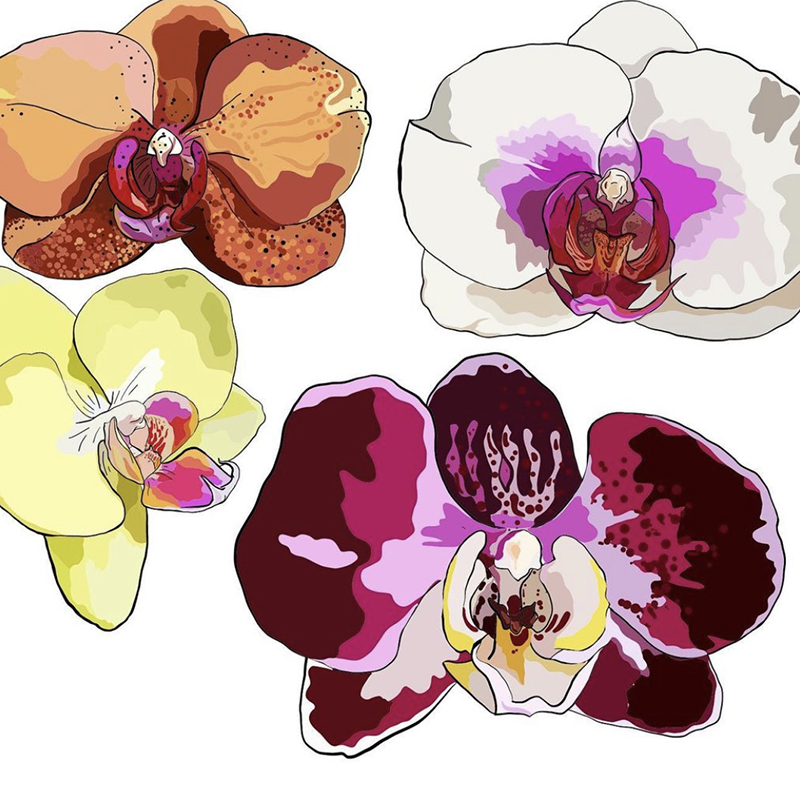
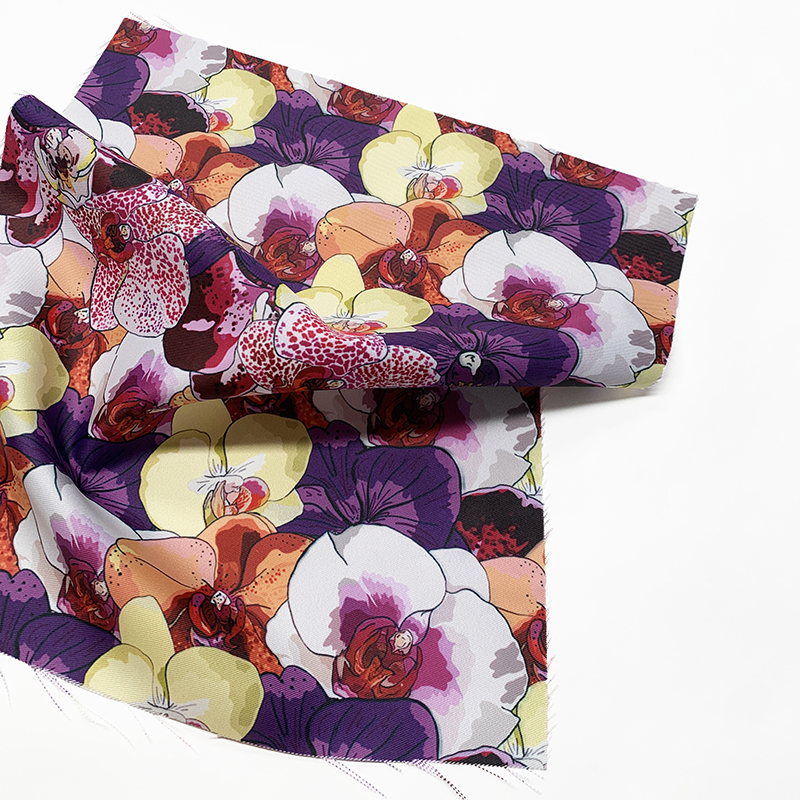
Floral Watercolour Painting
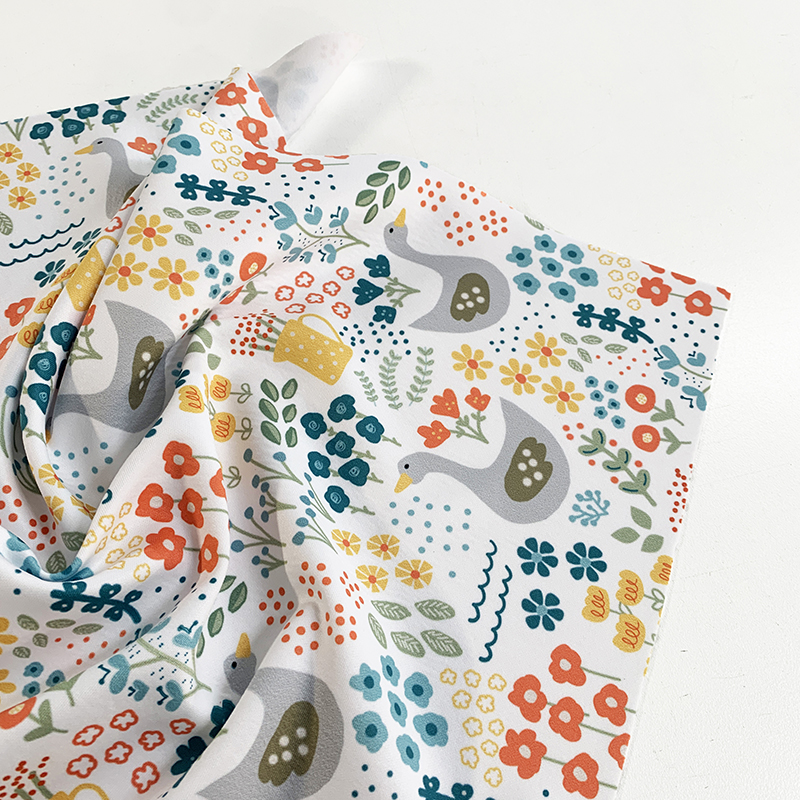
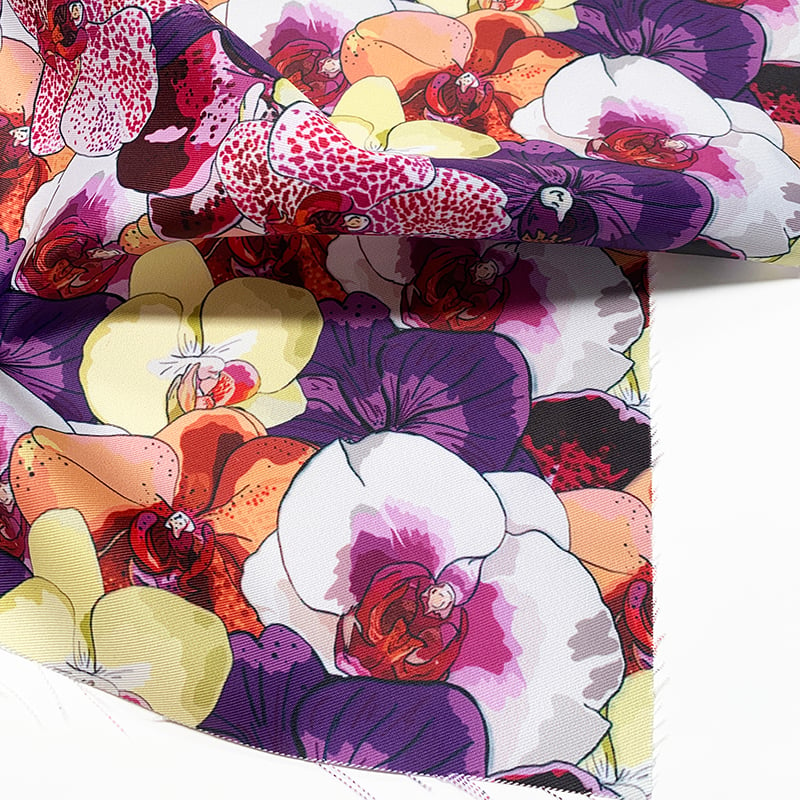
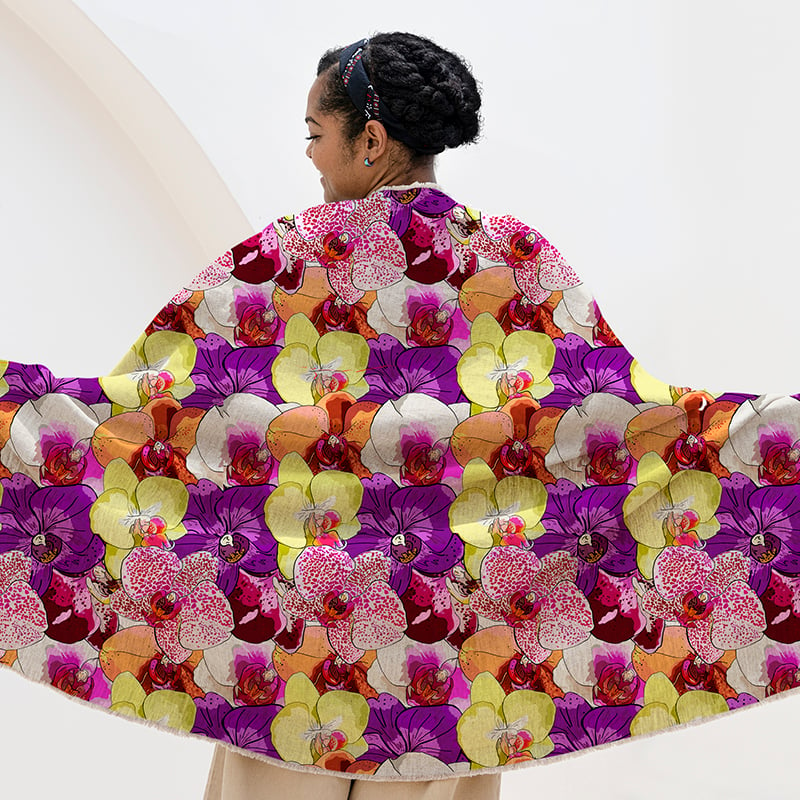
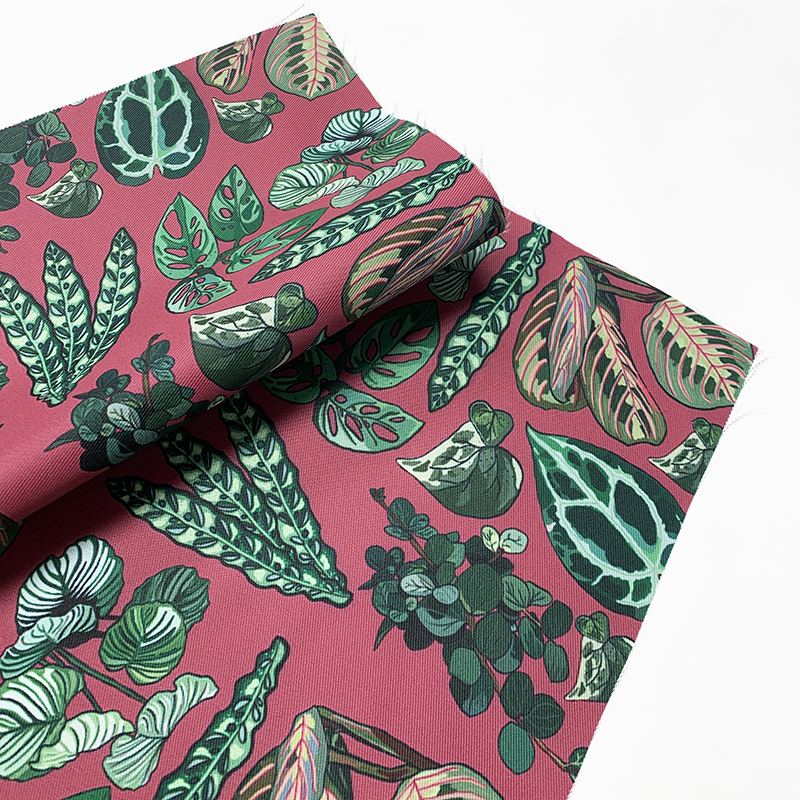
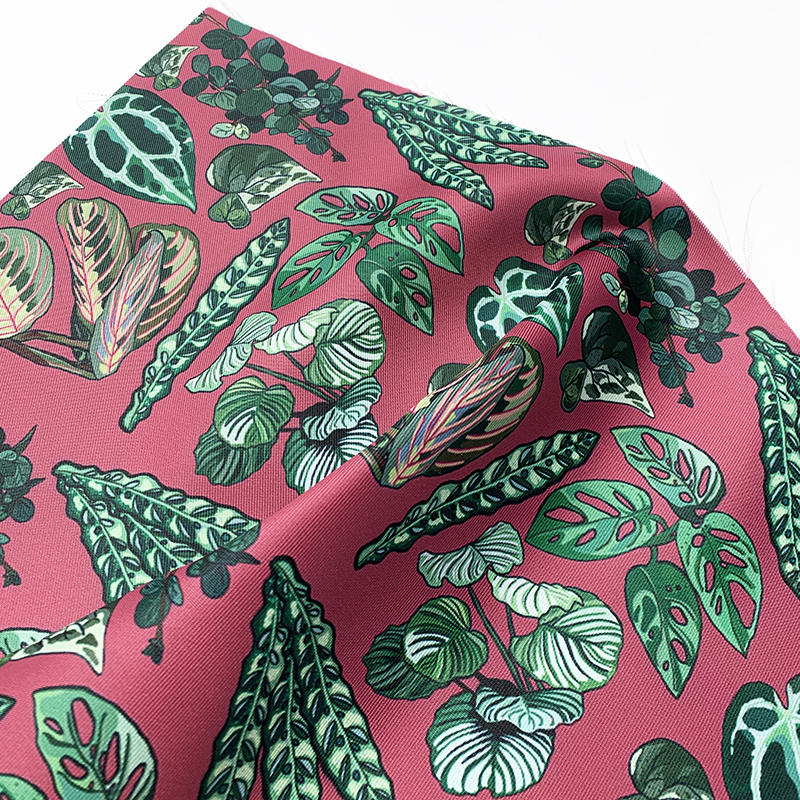
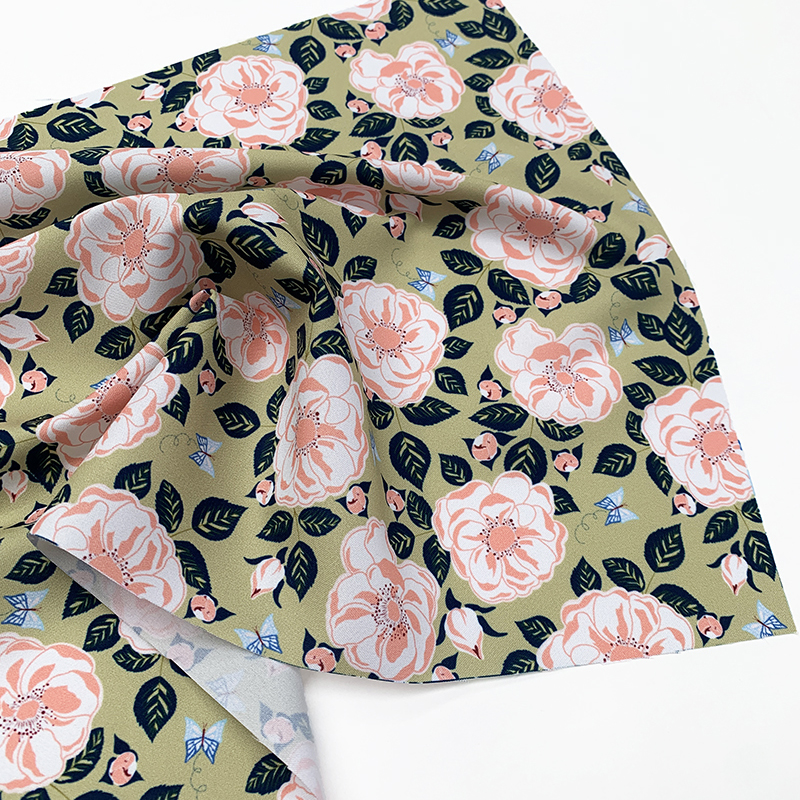
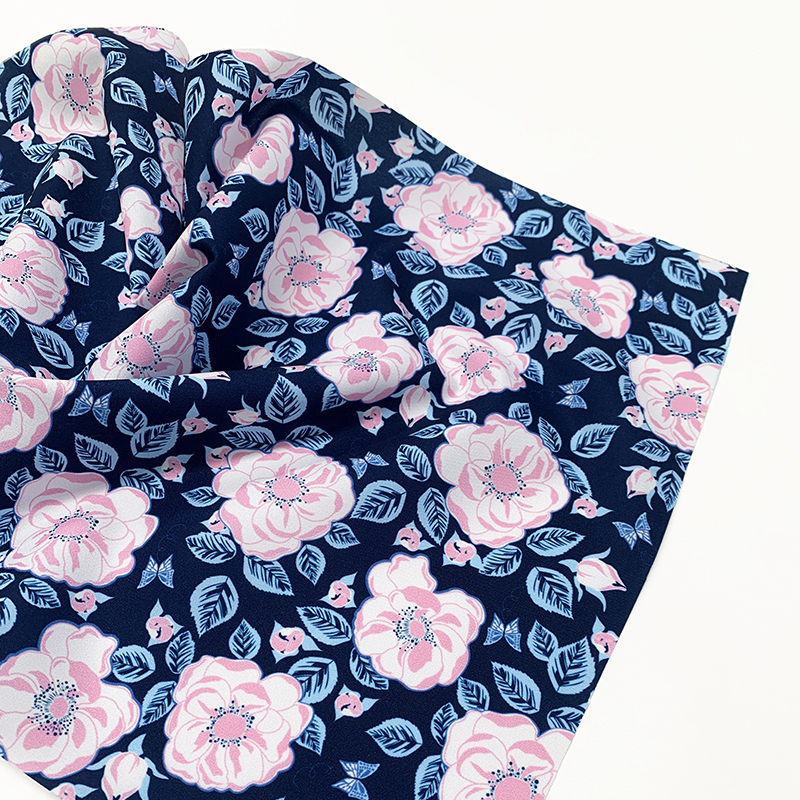
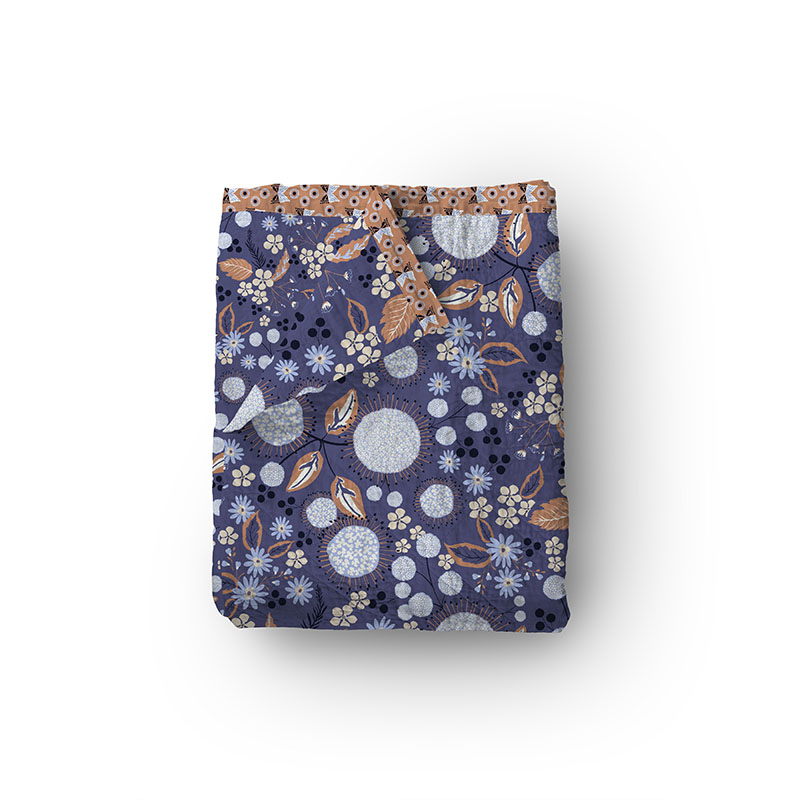
My favourite mediums to use are watercolour and gouache. I paint each element in various forms. The image on the left is an example of the original scan of “earthy bouquet” & “earthy bouquet blue”. I then clean and edit the artwork in photoshop and turn it into seamless repeats. Because of the variety of forms and values within this large motif, I created two prints from it with two colour ways. It is definitely the most versatile print out of this collection that is suitable for both fashion and Interiors.
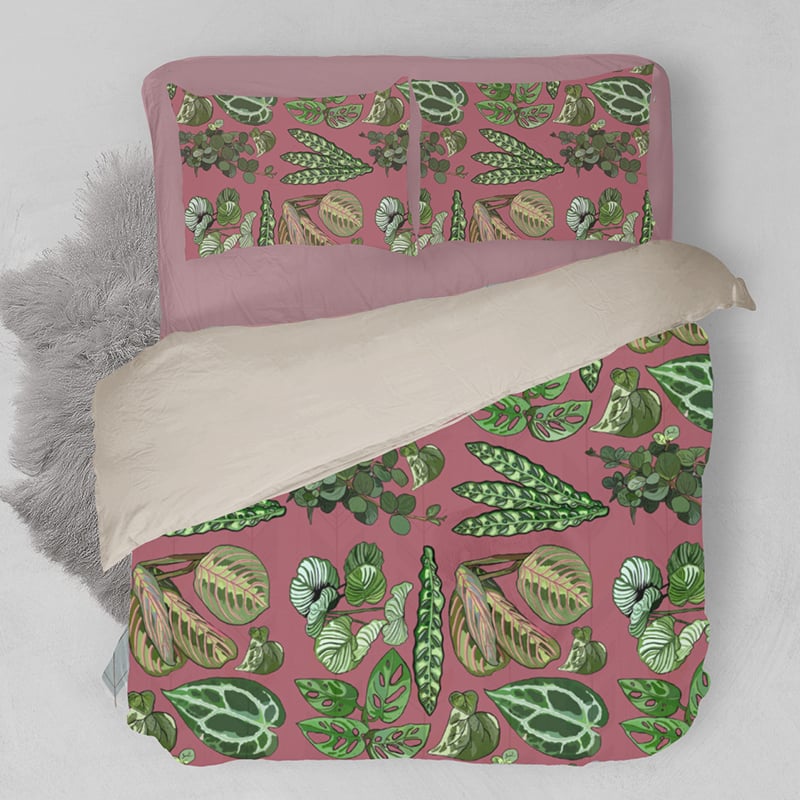
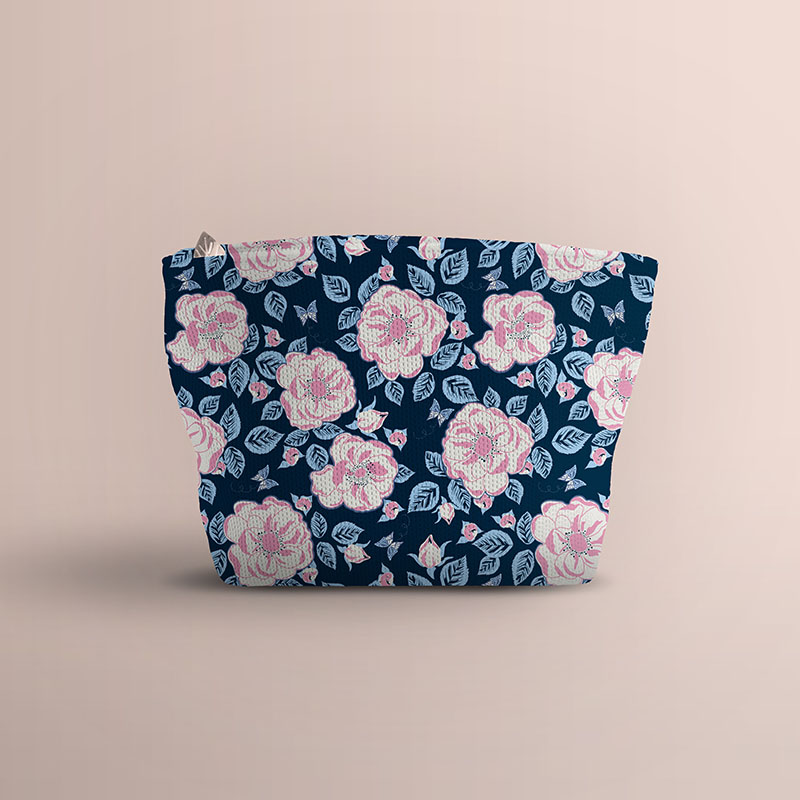
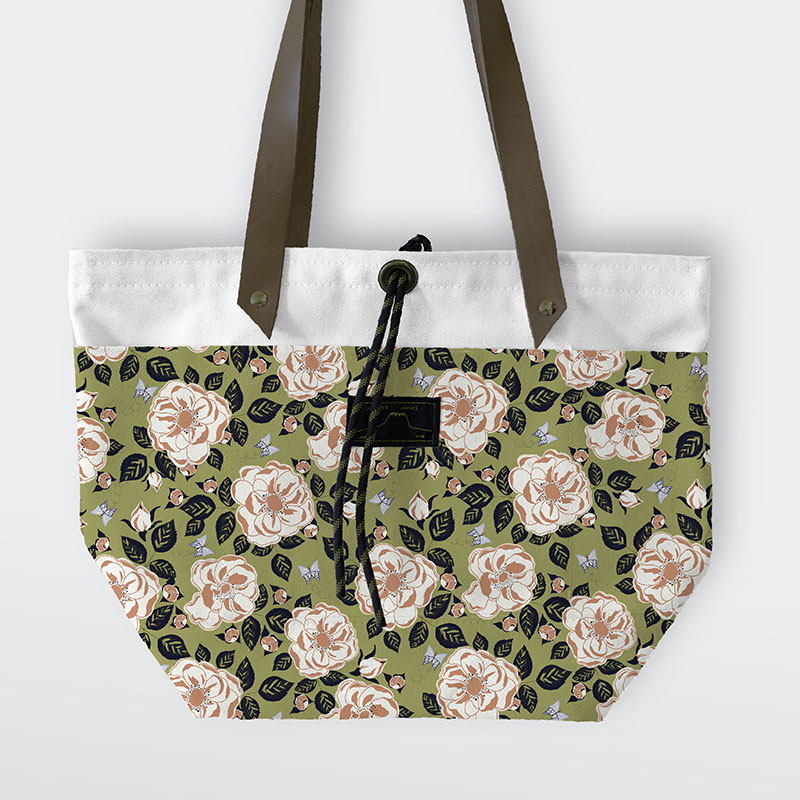
Here are examples of how “Earthy Bouquet” and “Earthy Bouquet Blue” would look like on children’s PJ sets. Which one do you like more? Get in touch with the team at Digital Fabrics to chat about printing base fabric options that are available for your sewing DIY project.
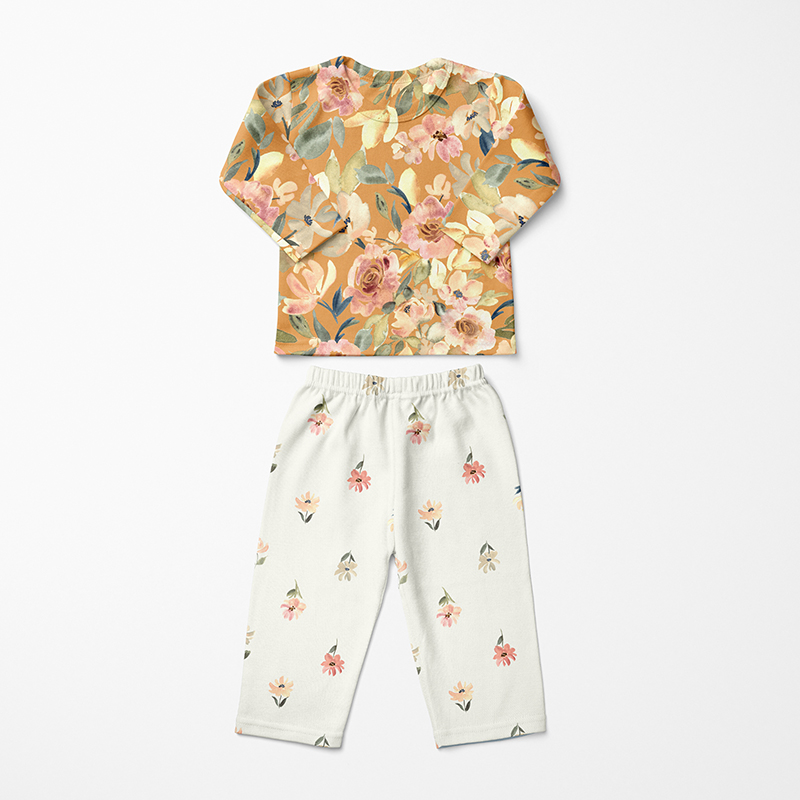
Earthy Bouquet Floral Mockup
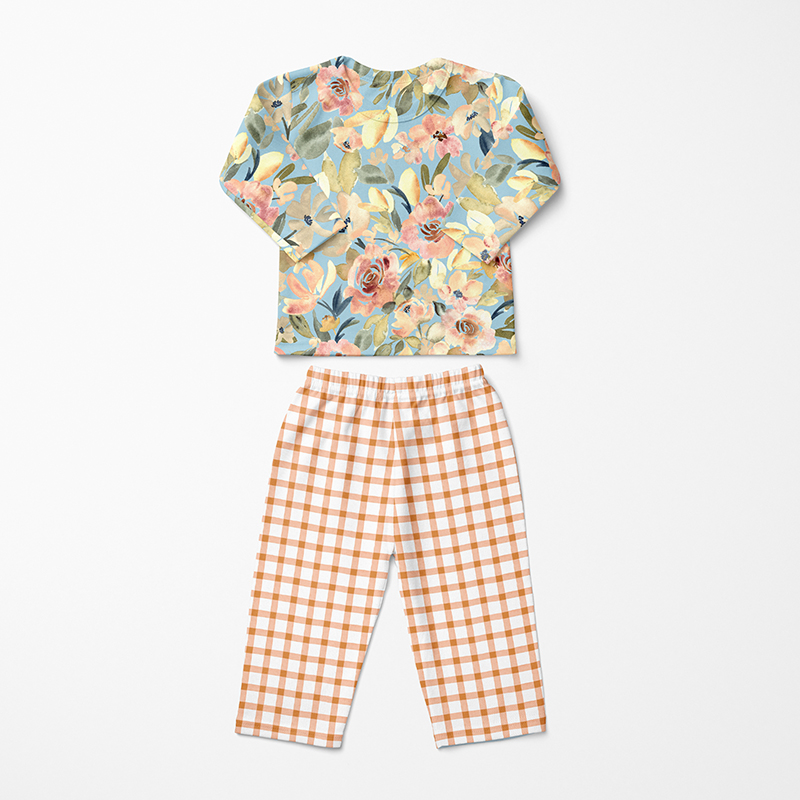
Earthy Bouquet Floral Mockup
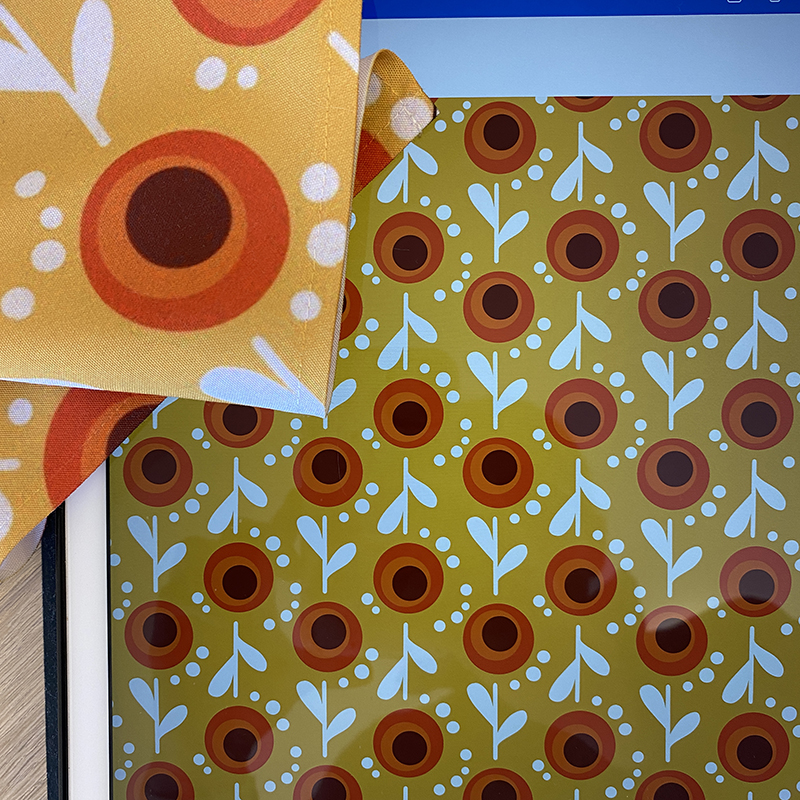
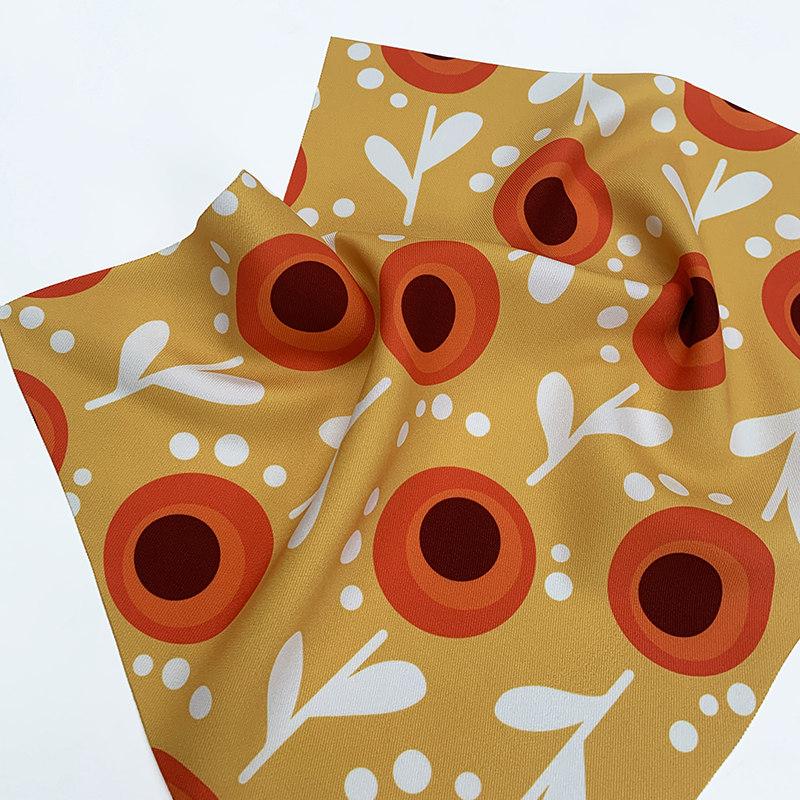
Now let’s look at another print from its original form. “Orange Bouquet” was inspired by the ripe and juicy oranges bursting with colours from the harvest season. I used my favourite earthy tones to paint this design, such as flesh tint, yellow ochre, permanent rose and burnt amber. I then took it to the computer, cleaned it up and turned it into a seamless repeat.
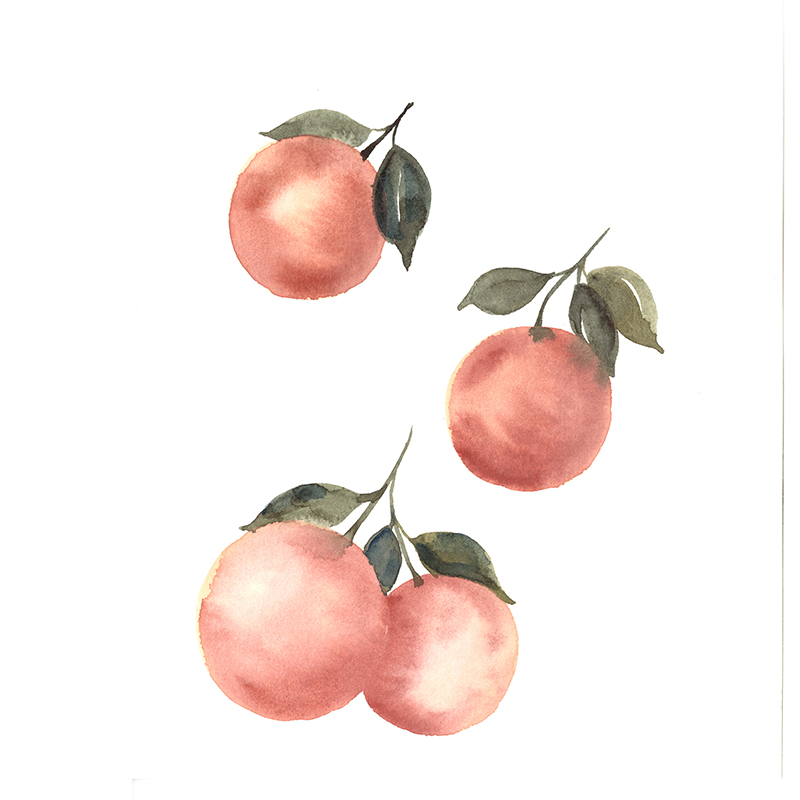
Watercolour Oranges
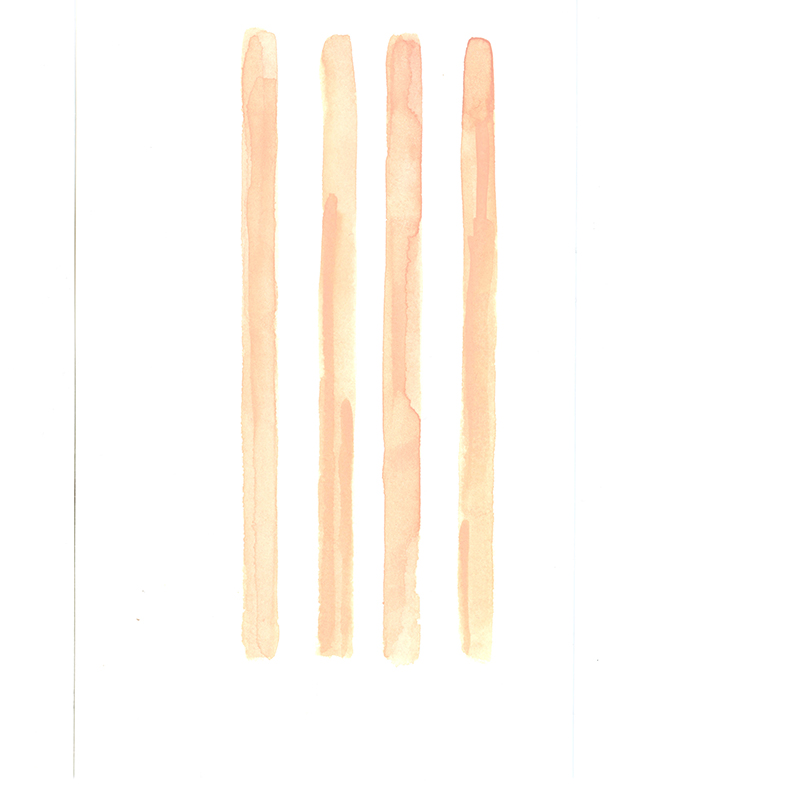
Watercolour Stripes
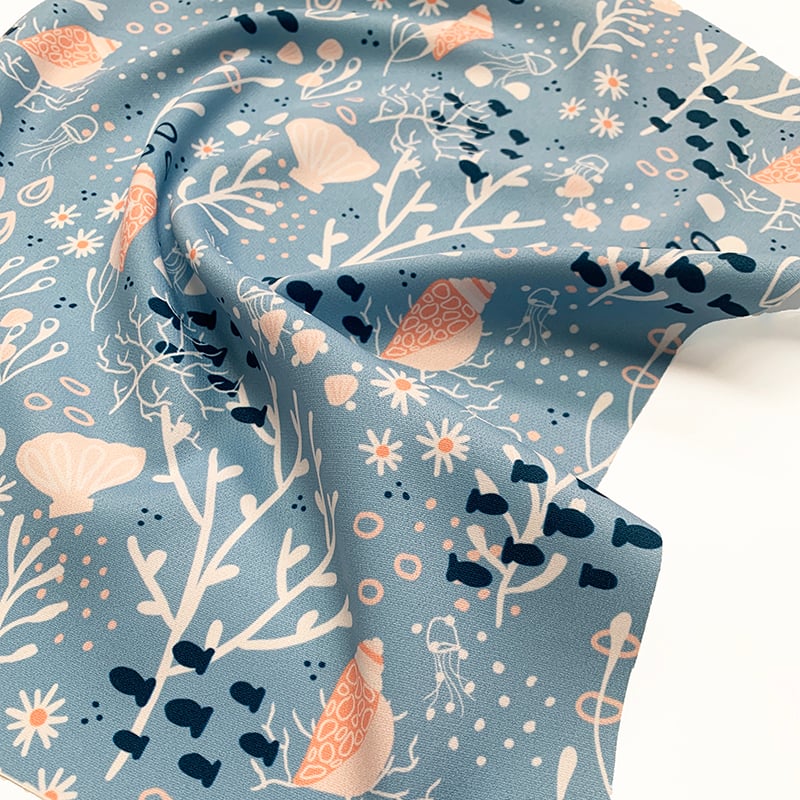
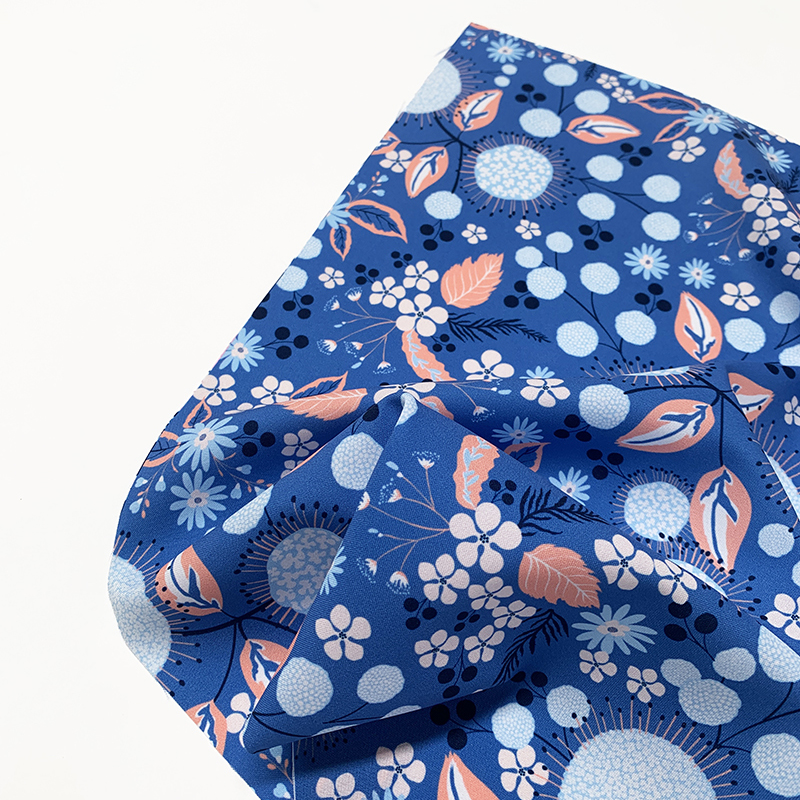
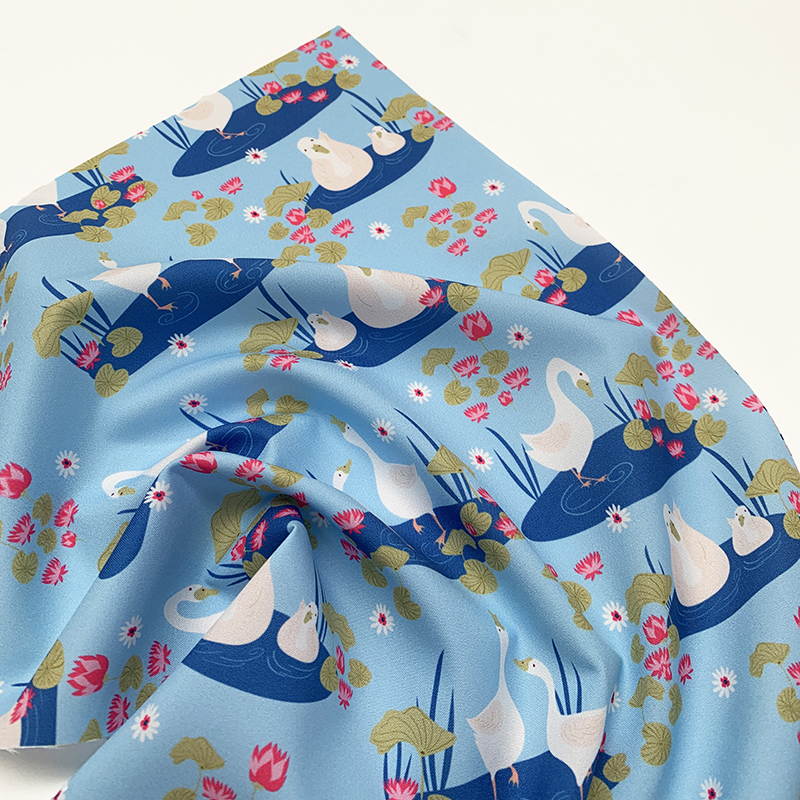
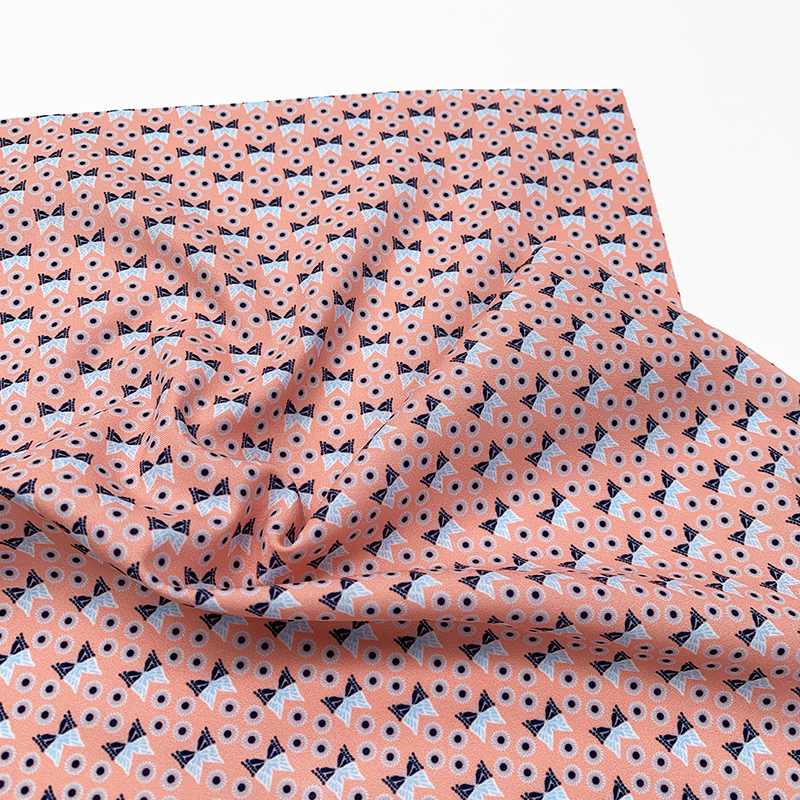
Below is the final print “oranges on stripes” looks like after digital adjustments. The second colour way with a blue background creates a lovely contrast against the foreground. This design is to celebrate the earthy colours and shapes from nature. I hope you love it as much as I do!
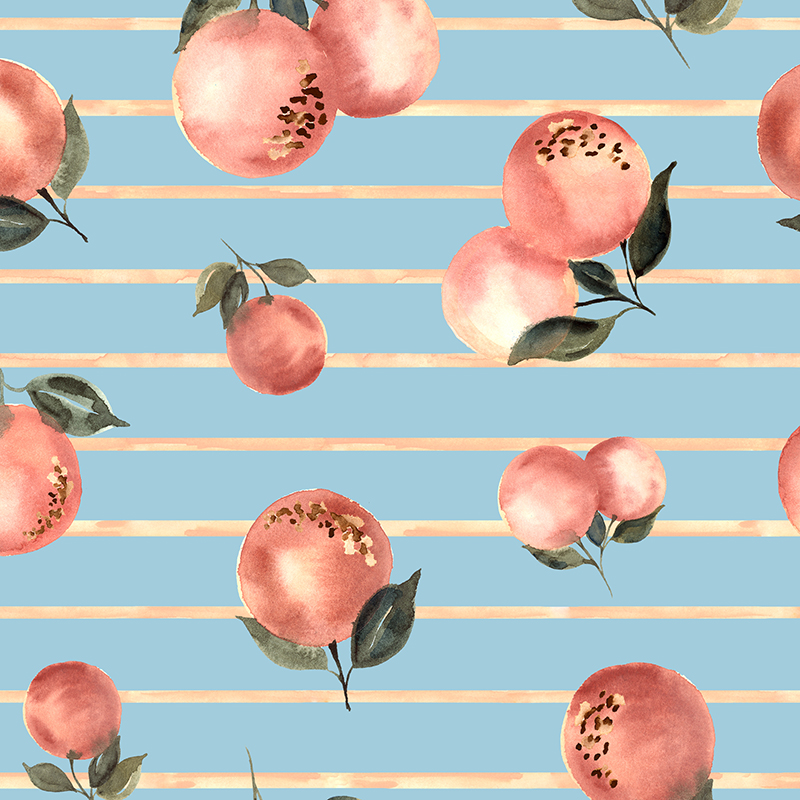
Oranges on Stripes Blue

Oranges on Stripes Pink
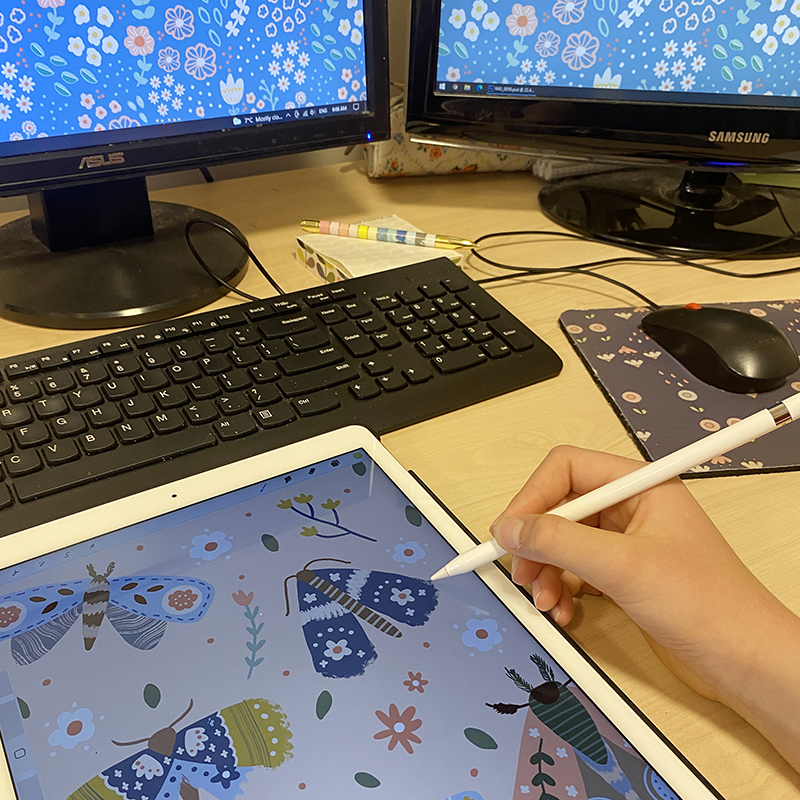
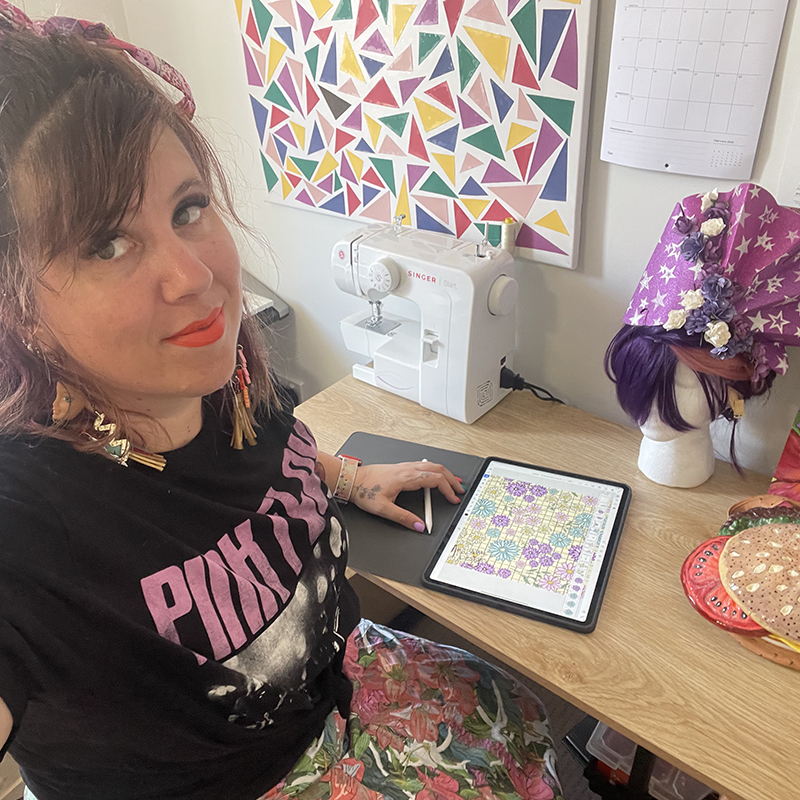
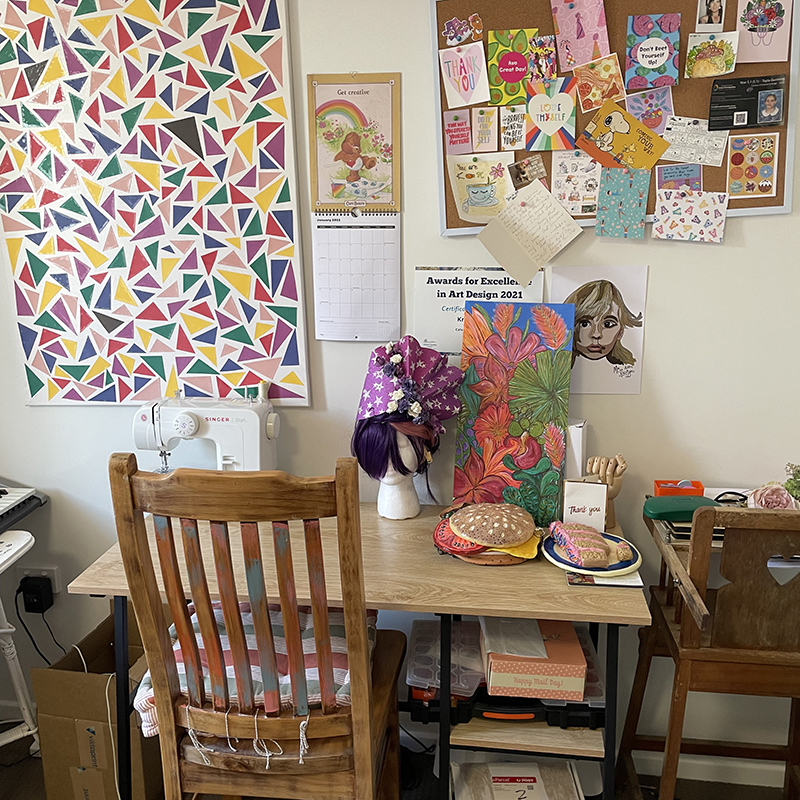
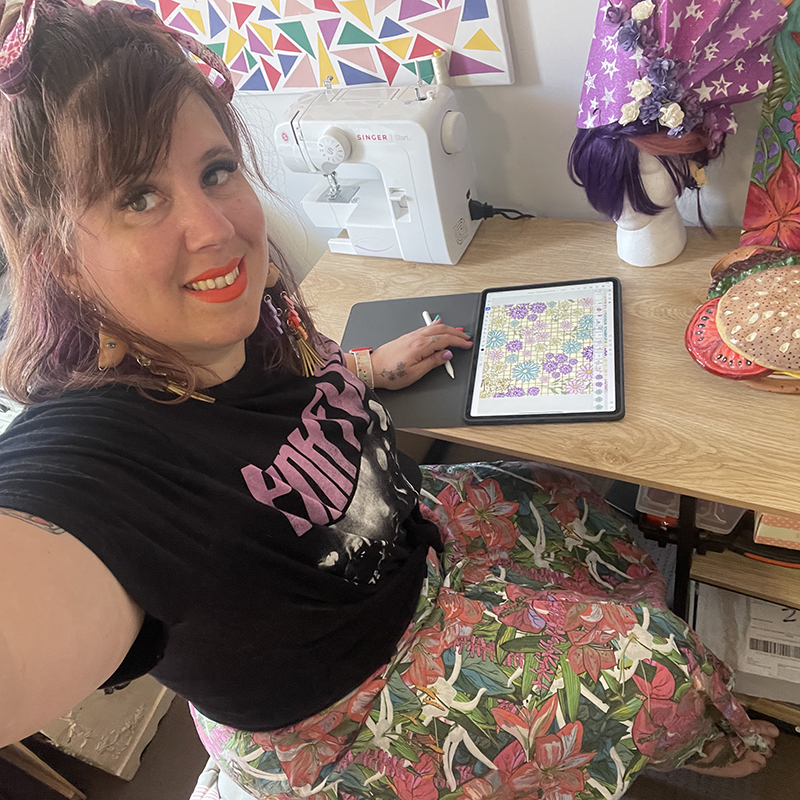
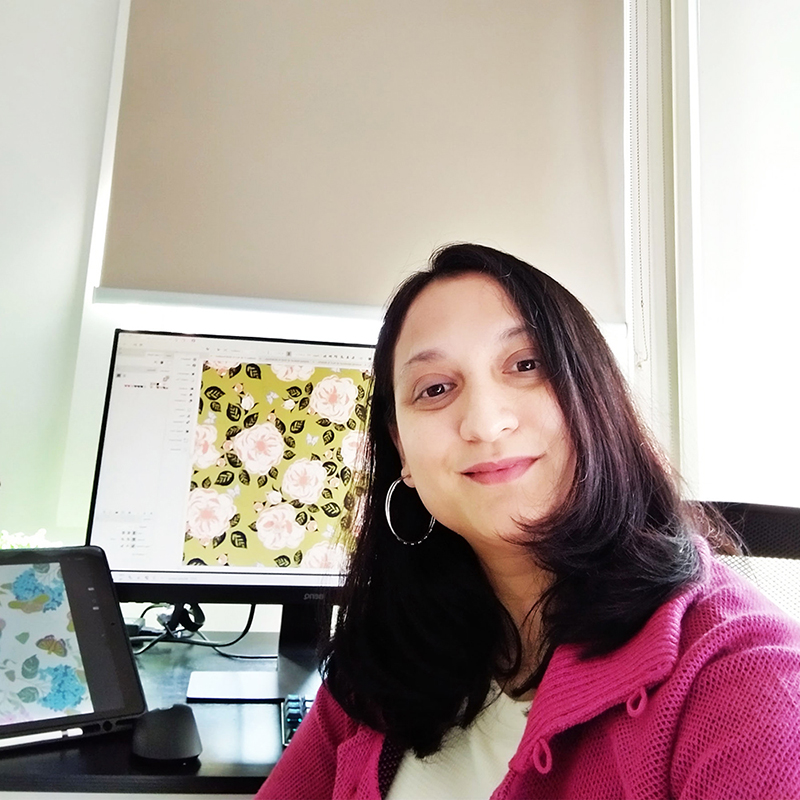
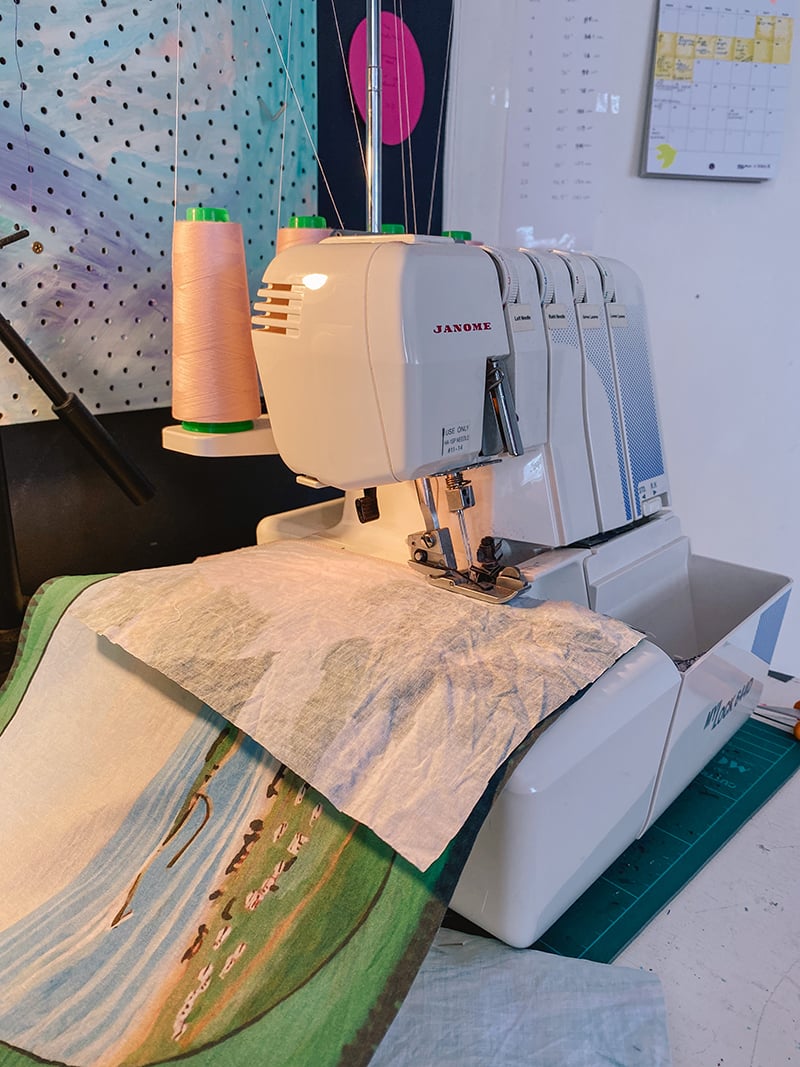
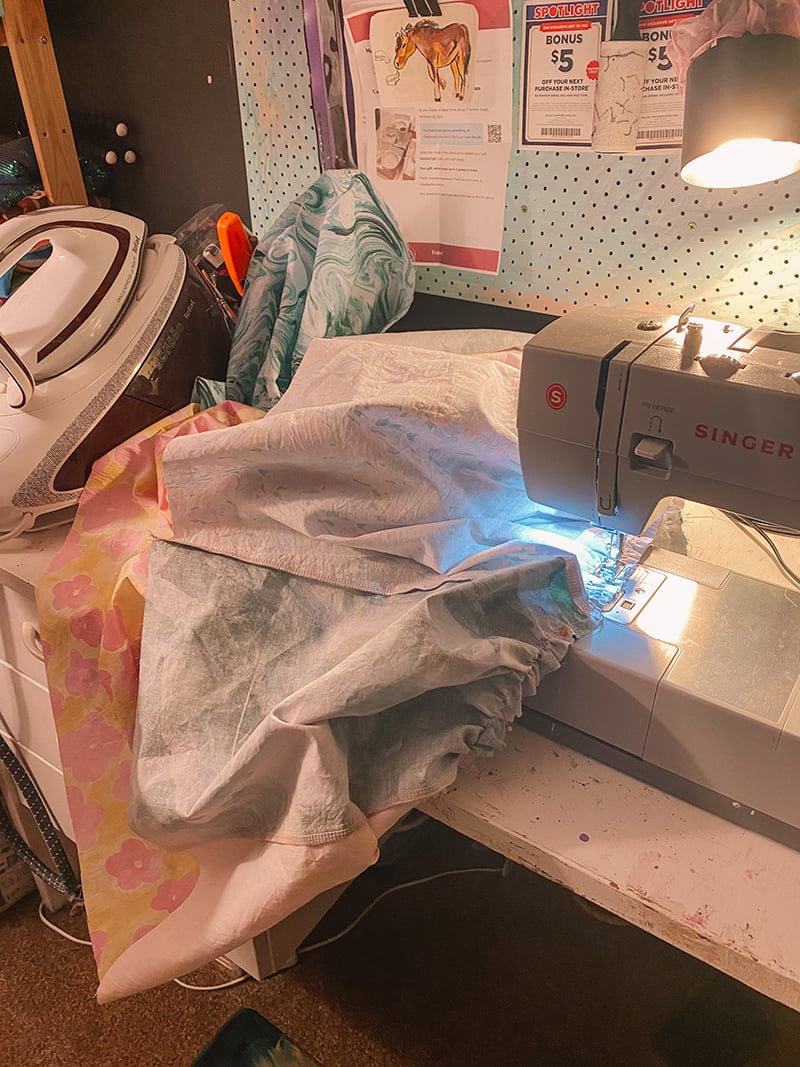
So, all the magic happens here – my home studio! This is where I emerge myself into creativity. I absolutely love experimenting with colour palettes. From soft subtle tones to happy bright colours, I love to incorporate them to express different feelings in my designs.
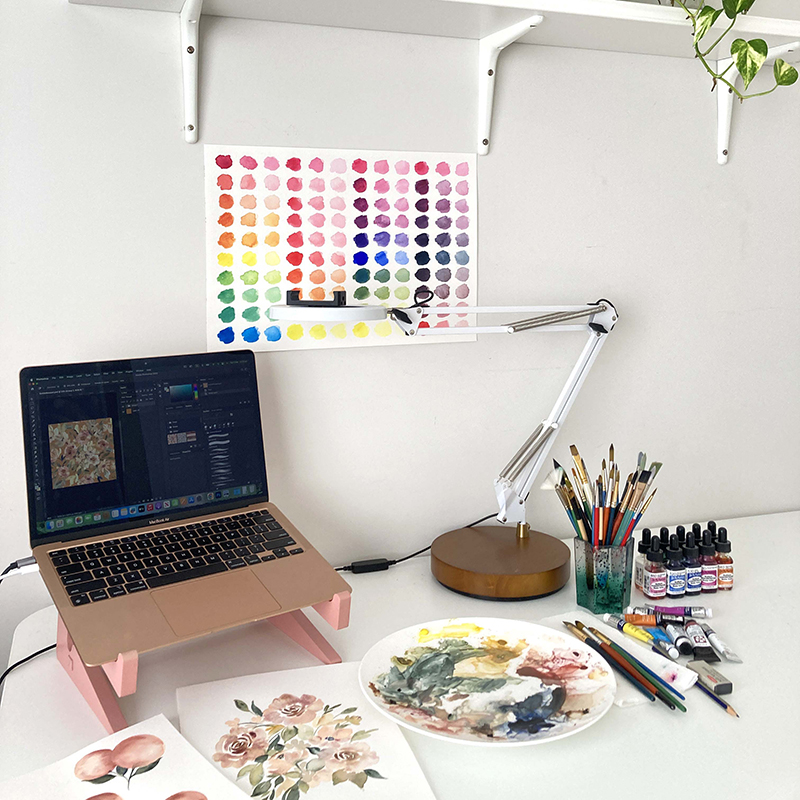
Aiai’s Studio Space
Thank you for reading this far! Having a great idea of an upcoming project that you can use one of my designs for? Please check them out via my Digital Fabric online shop.
We can’t wait to see what you make! Please tag both Digital Fabric & myself in any crafty projects you undertake with this collection of fabrics. If you would love to follow my creative journey, I can be found via Instagram and Facebook. See you there! Warmest regards, Aiai
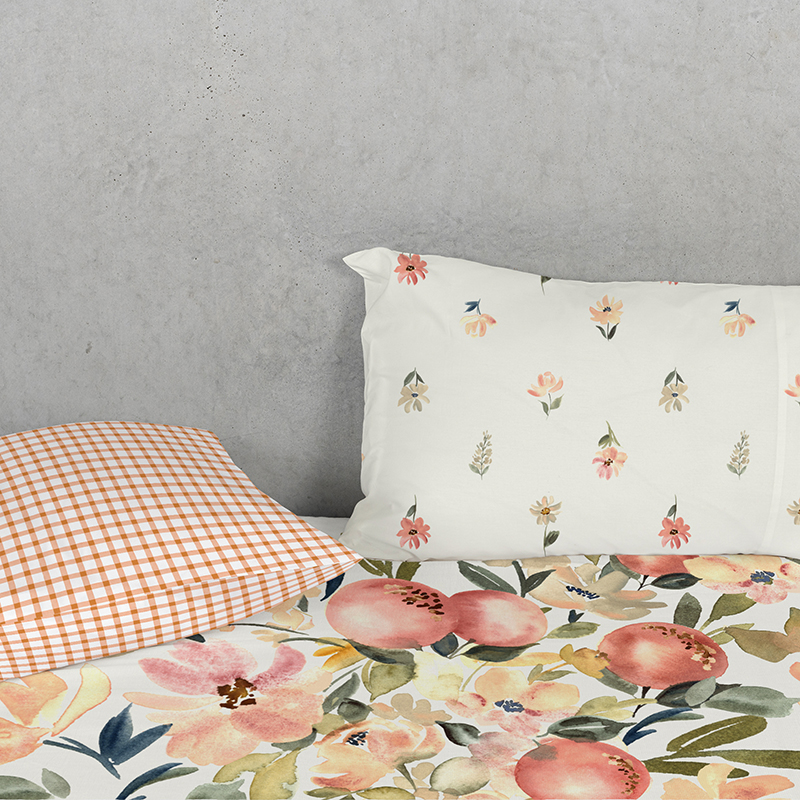
Oranges Bouquet and Floral Ditsy Orange Gingham
If you want to collaborate with us on The Designer Project and become part of this creative club, please apply! Send us an email with your portfolio and why you would like to be part of this initiative, and we will be in touch!