How to prepare a layout legging pattern for fabric printing in Photoshop
Garment making and production can be daunting and a complicated process especially placement or engineered printing. A lot of time and effort goes into research and understanding where to start. We have put together tutorials on how to design, work with and prepare legging pattern for digital placement fabric printing. For this tutorial you need to be proficient in Illustrator or at least have basic knowlage. Our tutorial is based on industry standards. This technic can be applied to printing other products such as bikinis, t-shirts, singlets , dresses etc.
How to prepare a layout/mark up legging pattern for fabric printing in Photoshop
Once you’ve completed the steps in the tutorial ‘How to use legging pattern in Photoshop’ You may want to print more than 1 design or more than 1 size, the most economic way to do this is to create a mark up/placement layout to have printed.
The following are instructions on how to set up in Photoshop, but could easily be done in Illustrator.
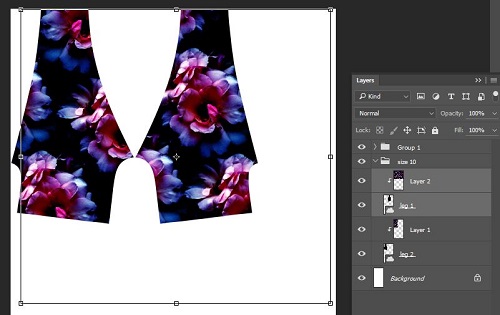
Start off by renaming the pattern layers to insure that you always have a pair of leggings.
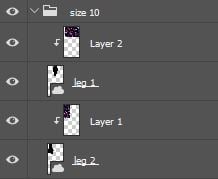
If you are only wanting the same size with different designs you can just Duplicate the leg layers. If you’d like to bring in different sizes you will need to repeat the steps in ‘How to use legging pattern in Photoshop’
In this tutorial we will be using the same size 10 but printing in new designs.
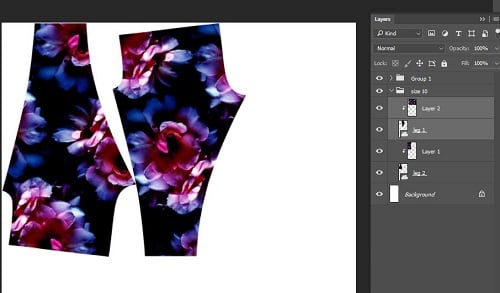
On the same artboard move files to the left hand side. you will notice that you can only comfortable fit 1 pair within the 147cm width with the current orientation; however there is a lot of wastage as illustrator below.
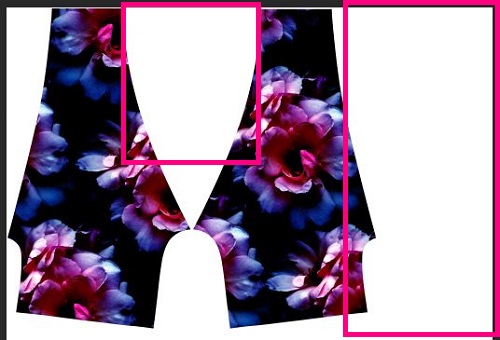
Like a Jigsaw puzzle you will now need to start moving the patterns, you will need to make sure that you keep in mind that your grain line is parallel to the selvage. To do this, select the leg you’d like to rotate (select both layers) press Ctrl+t to open up the transform tool and while holding down shift rotate the image 360′ and make sure to move the pattern piece as close as possible to other leg (zoom in to make sure it is not overlapping)
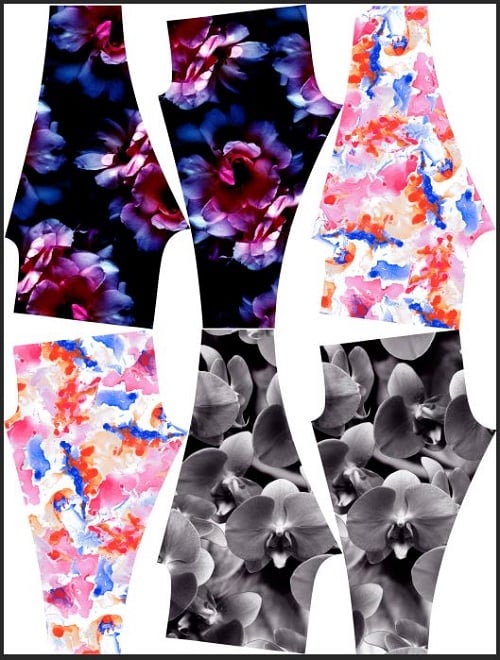
You can now start bringing in the other size 10 designs and play around with the layout. It’s best that you make the art board slightly longer than needed and once you’ve set up all the designs crop the excess.
Make sure you zoom in and double check that you haven’t overlapped any areas, when you are happy with the layout save as a JPG, TIFF or PDF.
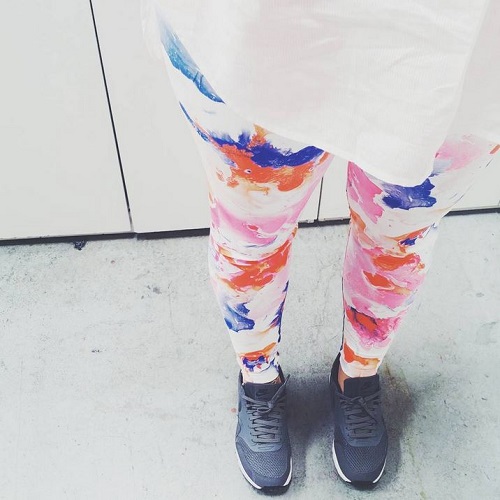
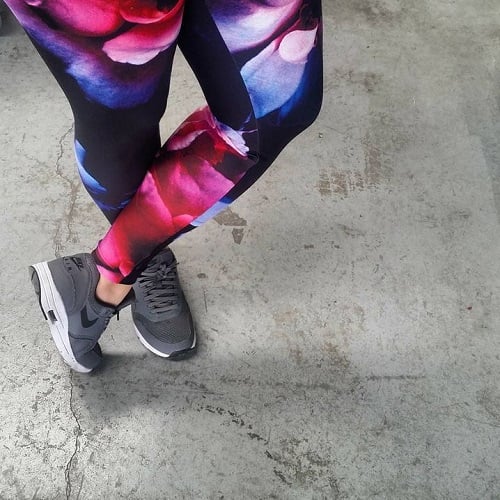
You’re now on your way to have custom printed fabric which you will be able to make into comfy leggings.